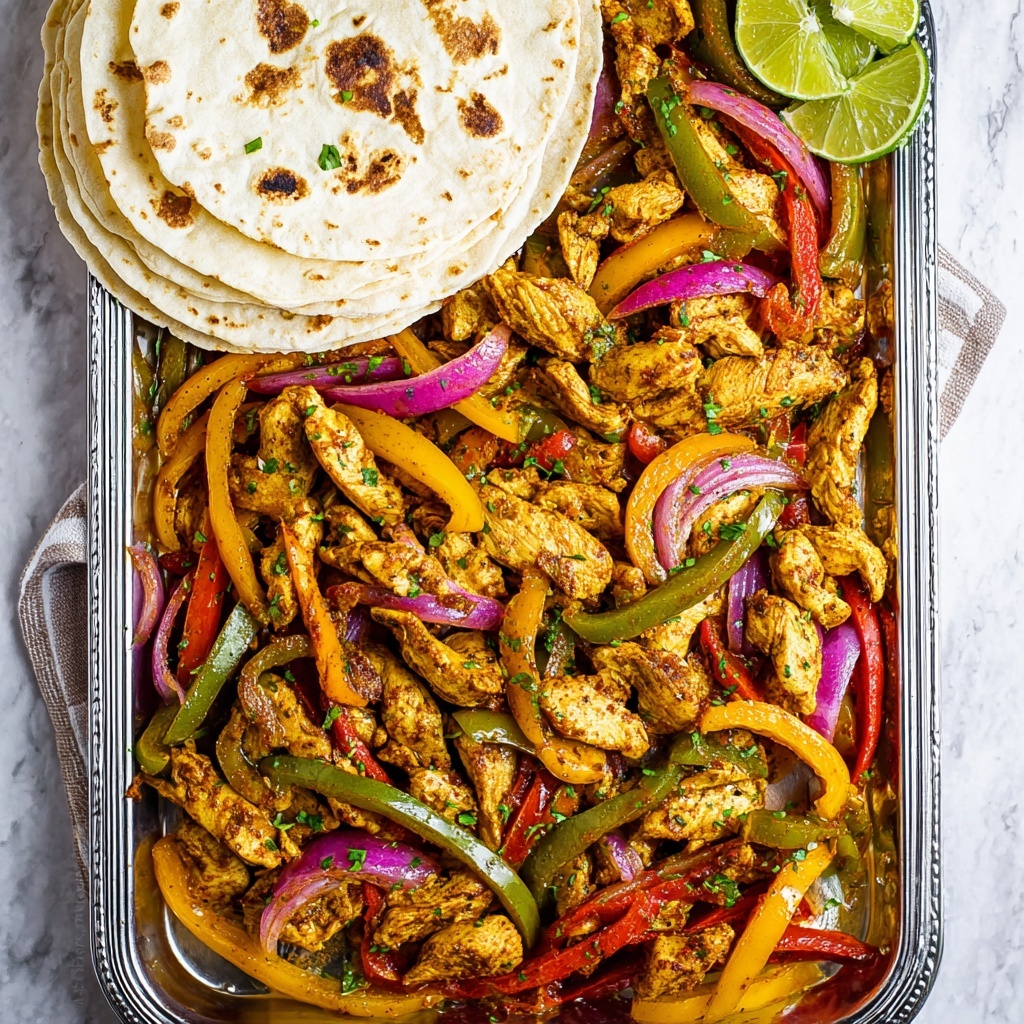
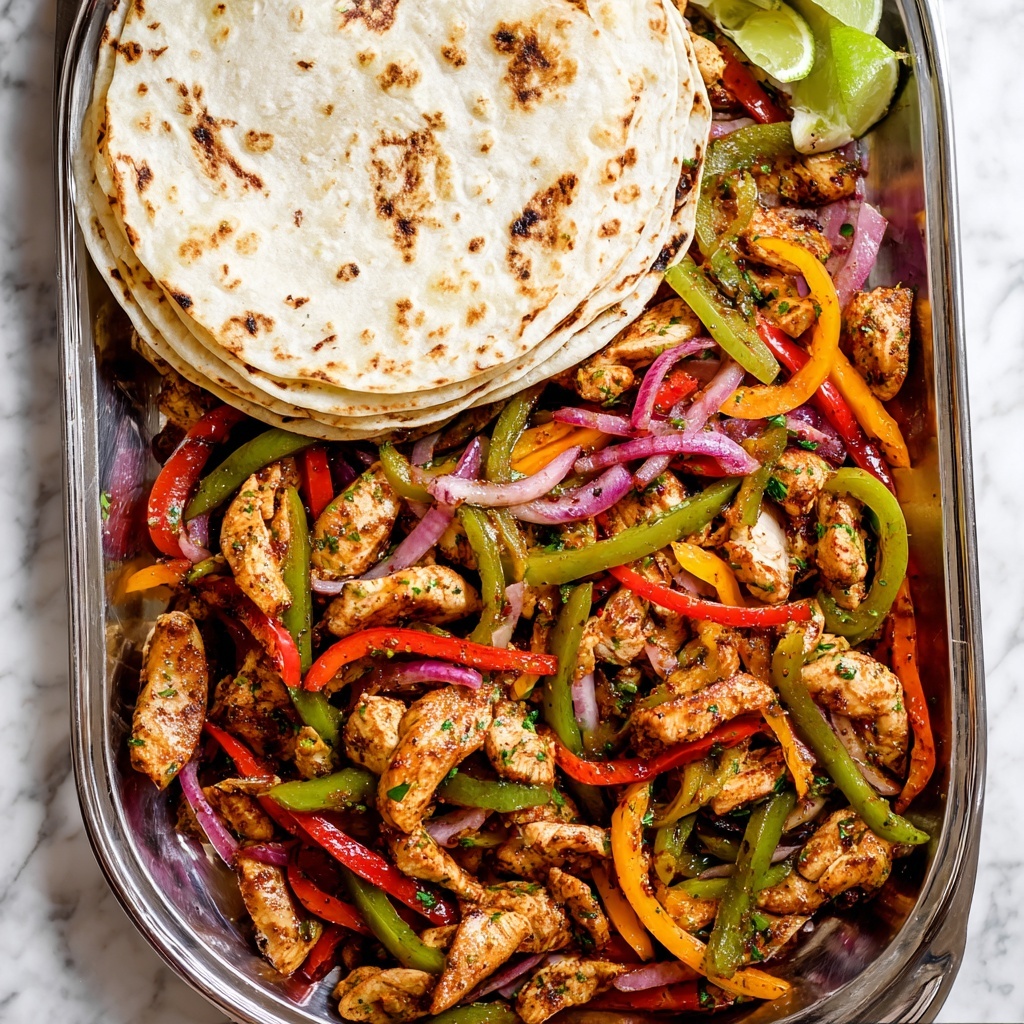
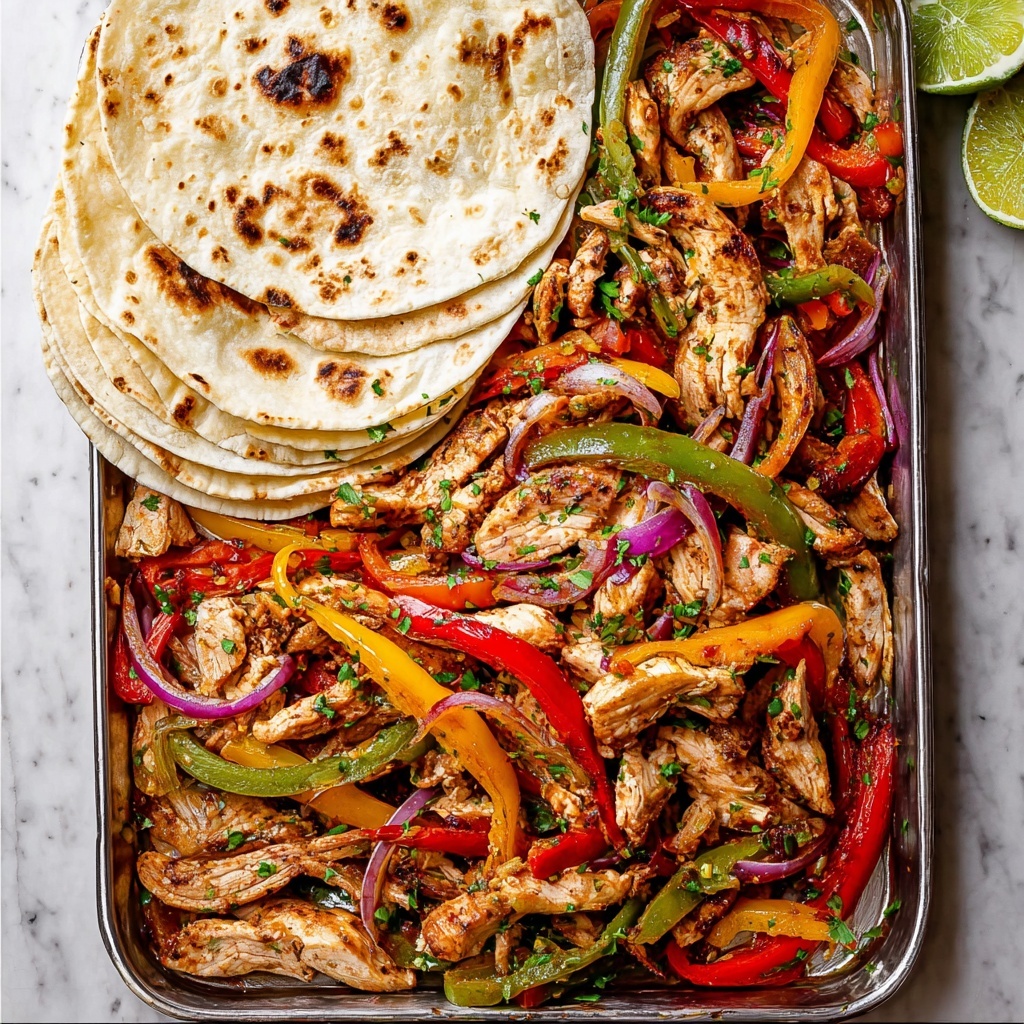
If you love vibrant, sizzling flavors and fuss-free cooking, you are going to fall head over heels for this Sheet Pan Chicken Fajitas Recipe. It brings all the bold, smoky, and slightly tangy notes of traditional fajitas into one easy sheet pan meal that requires minimal effort but delivers maximum deliciousness. Imagine juicy strips of chicken perfectly seasoned and baked alongside colorful bell peppers and onions, all ready to be wrapped up in warm tortillas with your favorite toppings. This dish is a weeknight superstar that feels special without any complicated steps.
Ingredients You’ll Need
Gathering the right ingredients for this recipe is like assembling a dream team, each bringing something essential to the table—texture, flavor, and that gorgeous pop of color that makes fajitas so irresistible. These simple staples form the backbone of your Sheet Pan Chicken Fajitas Recipe and guarantee you a dish that’s bursting with personality and joy.
- 3 tablespoons olive oil: This coats everything beautifully and keeps the chicken juicy while roasting.
- 1 (1.5oz) package fajita seasoning: The magic spice blend that infuses those signature smoky and zesty fajita flavors.
- 1½ pounds chicken breast (cut into ½-inch strips): Lean, tender protein that cooks quickly and soaks up all the seasoning.
- 4 large bell peppers (sliced in any color): They add a crunchy sweetness and gorgeous color contrast to the dish.
- 2 small onions (cut into thin wedges): Onions bring a mild bite and caramelize beautifully as they cook.
- 2 cloves garlic (finely minced): Garlic adds just the right hint of pungency to ramp up the flavor.
- 2 tablespoons fresh lime juice (or to taste): A fresh splash of acidity that brightens every bite.
- 2 tablespoons chopped fresh cilantro (or to taste): This herb adds a cool, herby note that contrasts perfectly with the spices.
- Flour tortillas (for serving): Soft and warm, the perfect vehicle for your fajita filling.
- Your favorite toppings: Avocado, sour cream, salsa, extra lime wedges—everything that makes fajitas feel like a celebration.
How to Make Sheet Pan Chicken Fajitas Recipe
Step 1: Season the Chicken and Vegetables
Grab a very large ziplock bag and toss in the chicken strips, sliced bell peppers, onions, garlic, olive oil, and the entire fajita seasoning packet. Seal it up and give it a good shake until everything is wonderfully coated. Let this flavorful mixture marinate in the fridge for about 30 minutes. This step is where the magic starts, as the spices soak into the chicken and veggies, creating that classic fajita flavor foundation you crave.
Step 2: Bake It to Perfection
Preheat your oven to 400°F (200°C). Line a rimmed baking pan with aluminum foil if you want an easy cleanup, then spread out the marinated chicken and vegetables evenly. Bake for 15 to 20 minutes, stirring once halfway through to ensure even cooking. You’ll know it’s ready when the chicken is perfectly cooked through, and the vegetables are tender with a touch of caramelization. For a little extra char and that authentic fajita grill feel, pop the pan under the broiler for 2 to 3 minutes—just watch closely so nothing burns!
Step 3: Finish with Fresh Lime and Cilantro
Once your chicken and veggies come out of the oven, toss them with fresh lime juice and chopped cilantro. This final fresh burst of bright acidity and herby flavor is what brings the whole dish to life. Serve the mixture in warmed flour tortillas, and don’t skimp on your favorite toppings like creamy avocado or zesty salsa. Every bite feels festive and utterly satisfying.
How to Serve Sheet Pan Chicken Fajitas Recipe
Garnishes
To elevate your Sheet Pan Chicken Fajitas Recipe, garnishes are where you get to have fun. Classic choices like dollops of sour cream, slices of ripe avocado, and a sprinkle of shredded cheese are perfect. Fresh lime wedges add an extra zing of citrus, while a handful of chopped cilantro brings that unmistakable freshness. Feel free to add jalapeño slices if you want a bit of heat or a spoonful of your favorite salsa for an extra flavor punch.
Side Dishes
Keep it simple and complementary with sides like Mexican rice or black beans to round out the meal. A crisp green salad with a light vinaigrette provides a refreshing contrast to the warm, spiced fajitas. For a heartier spread, try serving with corn on the cob slathered in chili-lime butter or even some buttery grilled street corn. These sides keep the meal balanced and downright festive.
Creative Ways to Present
Want to impress guests or just shake things up? Serve the Sheet Pan Chicken Fajitas Recipe as a fajita bowl with rice and beans beneath the chicken and veggies—great for low-carb adaptations too. Another fun idea is to turn your fajita fillings into tacos using crispy corn tortillas or even on homemade cauliflower tortillas. You can also eat them as a warm salad topping or stuff them inside baked potatoes for an unexpected twist that still feels completely at home on your dinner table.
Make Ahead and Storage
Storing Leftovers
If you happen to have leftovers, no worries at all! Store the cooked chicken and vegetable mixture in an airtight container in the refrigerator for up to 3 days. Keeping the tortillas separate helps prevent sogginess so everything stays fresh and ready to reheat.
Freezing
This Sheet Pan Chicken Fajitas Recipe also freezes beautifully. Place the cooked filling in a freezer-safe container or bag, removing as much air as possible, and freeze for up to 2 months. When you’re ready for a quick meal, simply thaw overnight in the fridge.
Reheating
To reheat, warm the chicken and veggie mixture gently on the stovetop over medium heat or use a microwave until heated through. You can briefly toast your tortillas on a skillet or in the oven to bring back that fresh, soft texture. Adding a splash of lime juice after reheating revives the flavors perfectly.
FAQs
Can I use chicken thighs instead of chicken breasts?
Absolutely! Chicken thighs are juicier and have a richer flavor which works wonderfully in this Sheet Pan Chicken Fajitas Recipe. Just be sure to cut them into similar-sized strips for even cooking.
Is it okay to use frozen peppers and onions?
While fresh is best for texture and flavor, frozen peppers and onions can work in a pinch. Just note they may release extra moisture during cooking, which can make the dish a bit softer.
Can I make the fajita seasoning myself?
Definitely! Homemade fajita seasoning using chili powder, paprika, cumin, garlic powder, onion powder, and a pinch of cayenne works perfectly and lets you control the spice level exactly how you like it.
What if I don’t have a broiler to char the fajitas?
No worries! The broiler adds a nice charred touch but isn’t essential. Baking at 400°F until the chicken is cooked and veggies are tender still creates fantastic flavor.
How do I keep tortillas from getting soggy when serving?
Warm tortillas just before serving and keep them wrapped in a clean kitchen towel or in a tortilla warmer. Serve fajitas immediately and keep tortillas separate until ready to assemble.
Final Thoughts
If you are craving a fun, colorful, and flavorful meal that comes together with minimal cleanup and maximum taste, this Sheet Pan Chicken Fajitas Recipe is your new best friend. It’s simple enough for a busy weeknight but special enough to serve friends and family. Trust me, once you try it, this recipe will become a go-to that you’ll want to make over and over again. Happy cooking and enjoy every juicy, zesty bite!
Print
Sheet Pan Chicken Fajitas Recipe
- Prep Time: 10 minutes
- Cook Time: 20 minutes
- Total Time: 30 minutes
- Yield: 6 servings
- Category: Main Dish
- Method: Baking
- Cuisine: Mexican
Description
This Sheet Pan Chicken Fajitas recipe is a quick, vibrant, and flavorful weeknight dinner that combines juicy chicken strips with colorful bell peppers and onions all baked together on a single sheet pan. Infused with fajita seasoning, garlic, and fresh lime juice, this dish is easy to prepare, healthy, and perfect for serving with warm tortillas and your favorite toppings like avocado, sour cream, or salsa.
Ingredients
Chicken and Vegetables
- 3 tablespoons olive oil
- 1 (1.5 oz) package fajita seasoning (or homemade fajita seasoning blend)
- 1½ pounds chicken breast, cut into ½-inch strips
- 4 large bell peppers, sliced (any color mix – green, red, orange, yellow)
- 2 small onions, cut into thin wedges (red, yellow, or mixed)
- 2 cloves garlic, finely minced
Finishing and Serving
- 2 tablespoons fresh lime juice (or to taste)
- 2 tablespoons chopped fresh cilantro (or to taste)
- Flour tortillas (for serving)
- Favorite toppings for serving (avocado, sour cream, salsa, extra lime, etc.)
Instructions
- Season: Add the olive oil, fajita seasoning, chicken strips, sliced peppers, onions, and minced garlic into a very large ziplock bag. Seal it tightly and shake well to evenly coat all ingredients with the seasoning mixture. Marinate the mixture in the refrigerator for 30 minutes to enhance the flavors.
- Bake: Preheat your oven to 400°F (200°C). Spread the marinated chicken and vegetable mixture evenly on a rimmed baking sheet; line it with aluminum foil for easier cleanup if desired. Bake for 15 to 20 minutes, stirring once halfway through cooking, until the chicken is fully cooked and the vegetables have softened. Optionally, broil for 2 to 3 minutes at the end to achieve a slight char and extra flavor.
- Finish: Remove the sheet pan from the oven. Toss the cooked chicken and vegetables with fresh lime juice and chopped cilantro to brighten the dish. Serve the fajita mixture warm in flour tortillas, accompanied by your choice of favorite toppings like avocado slices, sour cream, salsa, or additional lime wedges.
Notes
- You can make your own fajita seasoning by mixing chili powder, paprika, cumin, garlic powder, onion powder, oregano, salt, and pepper.
- Marinating for 30 minutes is recommended but can be increased up to 2 hours for deeper flavor.
- Use a rimmed baking sheet to prevent juices from spilling during baking.
- For a gluten-free option, serve with corn tortillas instead of flour tortillas.
- Leftovers can be stored in an airtight container in the refrigerator for up to 3 days.

