
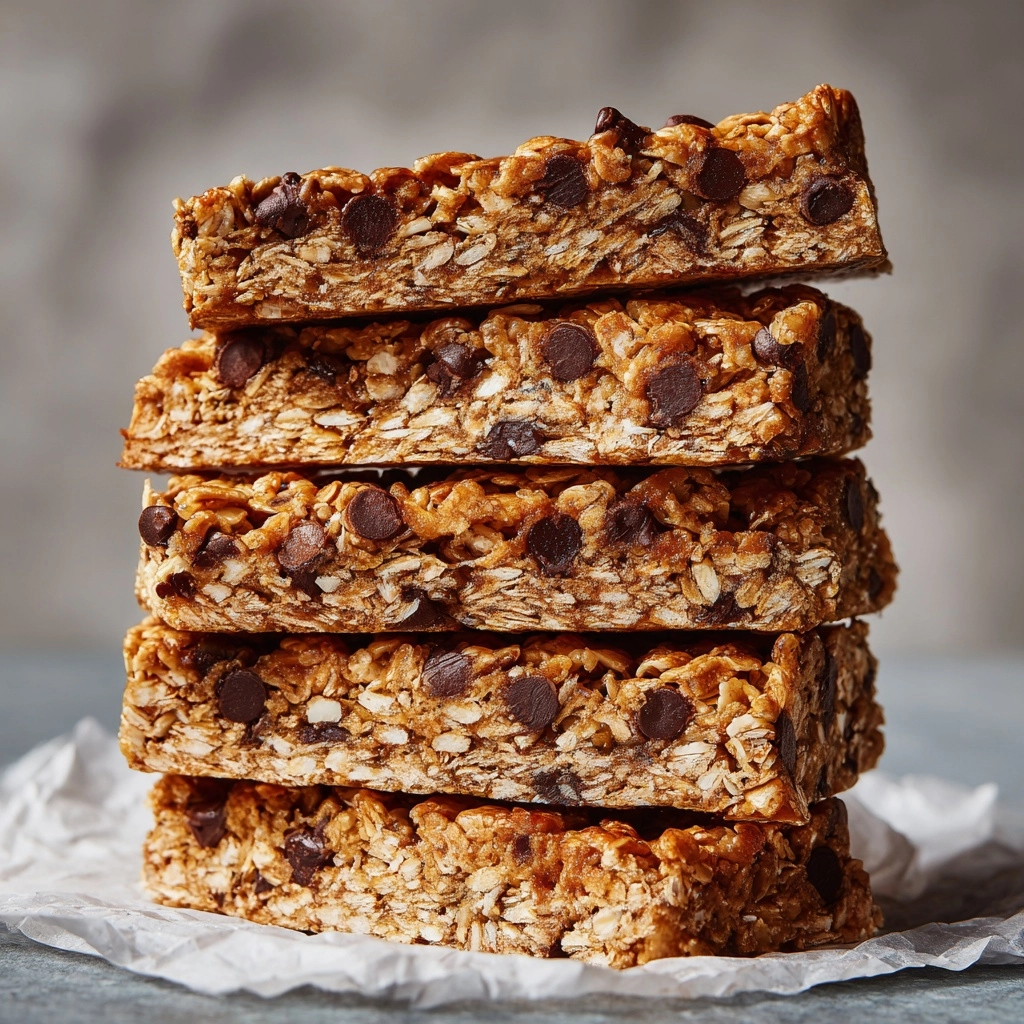
Get ready to fall in love with Homemade Granola Bars! These tasty, chewy bars are packed with wholesome oats, crunchy nuts, bursts of sweet dried fruit, and just the right touch of honey or maple syrup. They’re perfect for busy mornings, lunchbox treats, or afternoon snacks that keep you fueled without any mystery ingredients. Whether you love the classic recipe or want to add your own spin, this homemade version is naturally delicious, endlessly customizable, and so easy, you’ll wonder why you ever bought them from the store!
Ingredients You’ll Need
The beauty of these Homemade Granola Bars is their simplicity—each ingredient brings something special to the table. It all comes together in such a balanced way: hearty texture from oats, nutty richness, pops of fruit, and just enough sweetness to keep you coming back for more.
- Old-fashioned rolled oats: These create the chewy base and offer that classic granola flavor and texture.
- Chopped nuts (such as almonds or walnuts): For irresistible crunch and a boost of healthy fats—feel free to mix and match your favorites!
- Dried fruit (cranberries, raisins, or chopped dates): Adds natural sweetness and a colorful, chewy contrast in every bite.
- Honey or maple syrup: Binds everything together while infusing a lovely, natural sweetness—choose your favorite or mix both!
- Nut butter (peanut or almond butter): Makes the bars rich and satisfying, while helping them hold together perfectly.
- Vanilla extract: A splash of vanilla brings out all the warm, cozy flavors in this snack.
- Salt: Just a pinch balances the sweetness and enhances every other ingredient.
- Ground cinnamon (optional): Adds an extra hint of warmth and spice that takes these bars to the next level.
- Mini chocolate chips (optional): For those days when only a little bit of chocolate will do—stir them in once the mixture cools so they stay whole and pretty.
How to Make Homemade Granola Bars
Step 1: Prepare the Pan
Start by preheating your oven to 350°F (175°C) so it’s ready to go. Line an 8×8-inch baking pan with parchment paper, leaving some overhang on the sides—this makes it much easier to lift out the bars later, with zero sticking and zero frustration!
Step 2: Mix the Dry Ingredients
Grab a big mixing bowl and add in the old-fashioned rolled oats, chopped nuts, and dried fruit. Give them a quick toss together; mixing these dry ingredients first helps distribute all the good stuff evenly throughout your Homemade Granola Bars.
Step 3: Make the Sticky Binder
In a small saucepan over low heat, gently warm the honey (or maple syrup) and your nut butter of choice. Stir constantly until the mixture is smooth and thoroughly blended. Once combined, remove from heat and stir in the vanilla extract, salt, and cinnamon if you’re using it. This warm mixture is what will help all your ingredients come together into perfect bars.
Step 4: Combine Wet and Dry Mixtures
Pour the sweet, sticky mixture over the bowl of oats, nuts, and fruit. Stir well until every bit is well coated—don’t be afraid to get in there with a sturdy spatula or even your (clean) hands. If you’re adding chocolate chips, let the mixture cool slightly first so they don’t melt completely, then fold them in gently.
Step 5: Press and Bake
Scrape the granola mixture into your prepared pan and press it down firmly and evenly. Use the back of a spoon, a spatula, or even a second piece of parchment to really compact the mixture—this helps the bars hold their shape. Pop it in the oven and bake for 15 to 20 minutes, just until the edges turn beautifully golden.
Step 6: Cool and Slice
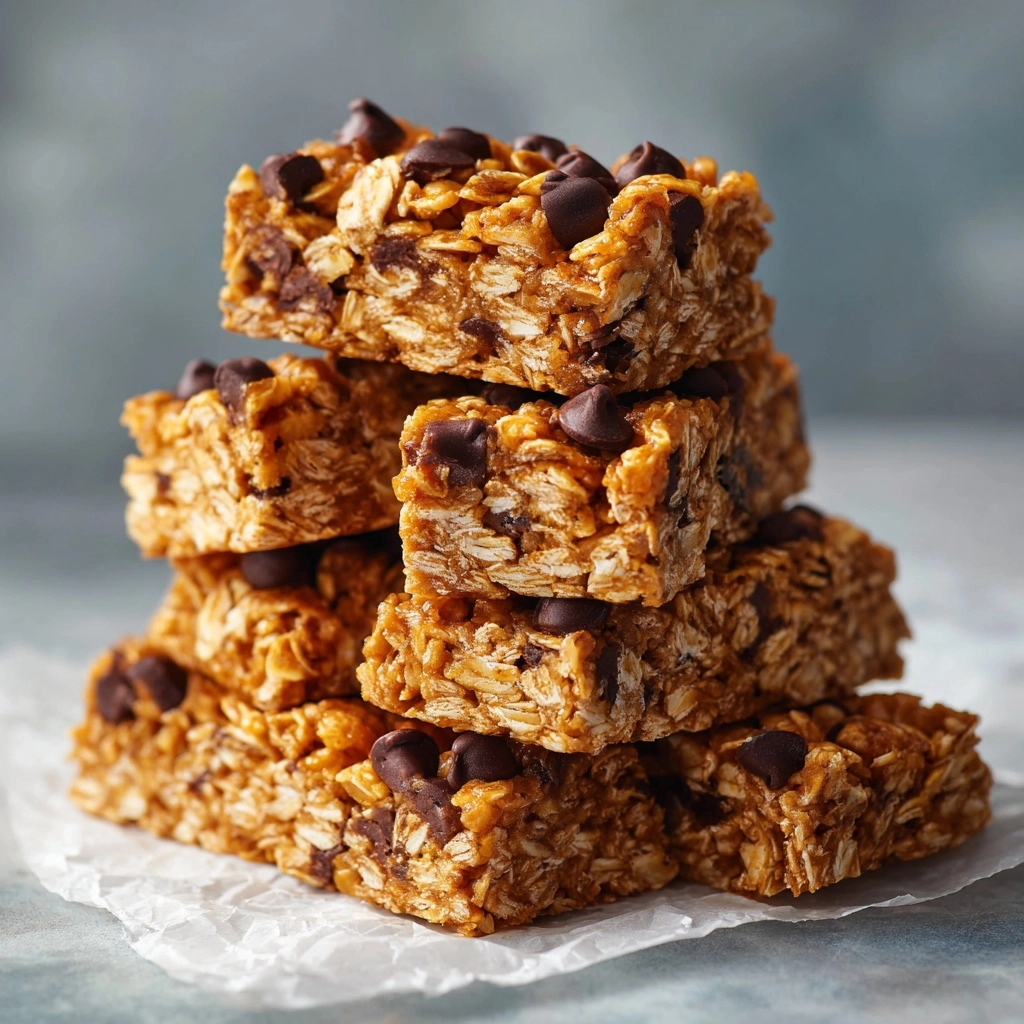
Let the bars cool completely right in the pan; patience is key here! Once cooled, use the parchment paper to lift them out and cut into 12 bars. Now your Homemade Granola Bars are ready for snacking, sharing, and stashing in every bag you own.
How to Serve Homemade Granola Bars
Garnishes
For an easy, extra-special touch, drizzle your bars with a bit of melted dark chocolate, a sprinkle of flaky sea salt, or even a handful of toasted sesame seeds. A little garnish can make Homemade Granola Bars look bakery-worthy and taste even more irresistible.
Side Dishes
Pair these bars with Greek yogurt and fresh berries for a quick and wholesome breakfast, or enjoy them alongside your afternoon coffee or tea for a little pick-me-up. Sliced fruit or veggie sticks also make the perfect healthy companion if you’re packing a snack for the road.
Creative Ways to Present
Try wrapping individual Homemade Granola Bars in parchment paper and tying them with kitchen twine for a fun snack basket or party favor. Stack them on a platter with a variety of nut and fruit combos for a DIY snack bar, or tuck them into lunchboxes with personalized notes for a little extra cheer.
Make Ahead and Storage
Storing Leftovers
Store your cooled and cut bars in an airtight container at room temperature for up to one week. Separate layers with parchment paper to keep them from sticking together. The flavors meld beautifully over time, making every bite just as good the next day.
Freezing
If you want to make a bigger batch ahead of time, the bars freeze perfectly! Place the sliced Homemade Granola Bars in a freezer-safe bag or container, using parchment between layers. They’ll keep well for up to three months—just let them thaw at room temperature for a few minutes before enjoying.
Reheating
While you don’t need to reheat Homemade Granola Bars to enjoy them, if you prefer them warm and extra gooey, pop one in the microwave for about 10–15 seconds. You can also toast a bar in the oven for a few minutes for that fresh-baked flavor and a hint of extra crunch.
FAQs
Can I use quick oats instead of old-fashioned oats?
You can substitute quick oats, but the bars will be a bit softer and may not hold together as firmly. For the classic chewy texture you find in Homemade Granola Bars, old-fashioned rolled oats work best.
What are the best add-ins for variety?
Feel free to get creative! Try adding sunflower seeds, pumpkin seeds, shredded coconut, or even a dash of citrus zest. The recipe is wonderfully flexible so you can mix and match with whatever you have on hand or love most.
Are the bars gluten-free?
They can be! Just make sure your oats are certified gluten-free, and double-check all your add-in ingredients to avoid any hidden gluten. Homemade Granola Bars are a fantastic gluten-free snack with a few simple swaps.
Can I make these without baking?
Absolutely. For a no-bake version, simply press the mixture into your lined pan and chill it in the refrigerator for at least two hours. This makes the bars firm enough to slice, and you can skip the oven entirely.
How do I cut the bars without crumbling?
Let the bars cool completely before slicing, and use a sharp, lightly oiled knife to make clean cuts. Pressing the mixture firmly in the pan before baking or chilling is the real secret to sliceable Homemade Granola Bars that won’t fall apart.
Final Thoughts
I hope you’ll give these Homemade Granola Bars a try—once you taste how fresh, wholesome, and downright delicious they are, you might just start making them every week. Happy snacking, and don’t forget to share (or stash a few just for yourself)!
Print
Homemade Granola Bars Recipe
- Prep Time: 10 minutes
- Cook Time: 20 minutes
- Total Time: 30 minutes
- Yield: 12 bars
- Category: Snack
- Method: Baking
- Cuisine: American
- Diet: Vegetarian
Description
These Homemade Granola Bars are a delicious and healthy snack option that you can easily make at home. Packed with oats, nuts, dried fruit, and a hint of sweetness, these bars are perfect for a quick energy boost.
Ingredients
For the Granola Bars:
- 2 cups old-fashioned rolled oats
- 1 cup chopped nuts (such as almonds or walnuts)
- 1 cup dried fruit (such as cranberries, raisins, or chopped dates)
- 1/2 cup honey or maple syrup
- 1/3 cup nut butter (such as peanut butter or almond butter)
- 1/2 teaspoon vanilla extract
- 1/4 teaspoon salt
- 1/4 teaspoon ground cinnamon (optional)
- 1/4 cup mini chocolate chips (optional)
Instructions
- Preheat the Oven: Preheat the oven to 350°F (175°C) and line an 8×8-inch baking pan with parchment paper.
- Mix Dry Ingredients: In a large bowl, combine oats, nuts, and dried fruit.
- Prepare Wet Mixture: In a saucepan, warm honey and nut butter. Remove from heat and add vanilla, salt, and cinnamon.
- Combine Ingredients: Pour the wet mixture over the dry ingredients and mix well. Add chocolate chips if desired.
- Bake: Press mixture into the pan and bake for 15–20 minutes until golden.
- Cool and Cut: Let the bars cool in the pan, then cut into bars.
Notes
- You can customize these bars with different nuts, seeds, or sweeteners.
- For a no-bake version, chill the mixture in the fridge for 2 hours instead of baking.
Nutrition
- Serving Size: 1 bar
- Calories: 210
- Sugar: 12g
- Sodium: 70mg
- Fat: 10g
- Saturated Fat: 2g
- Unsaturated Fat: 7g
- Trans Fat: 0g
- Carbohydrates: 26g
- Fiber: 3g
- Protein: 5g
- Cholesterol: 0mg


