
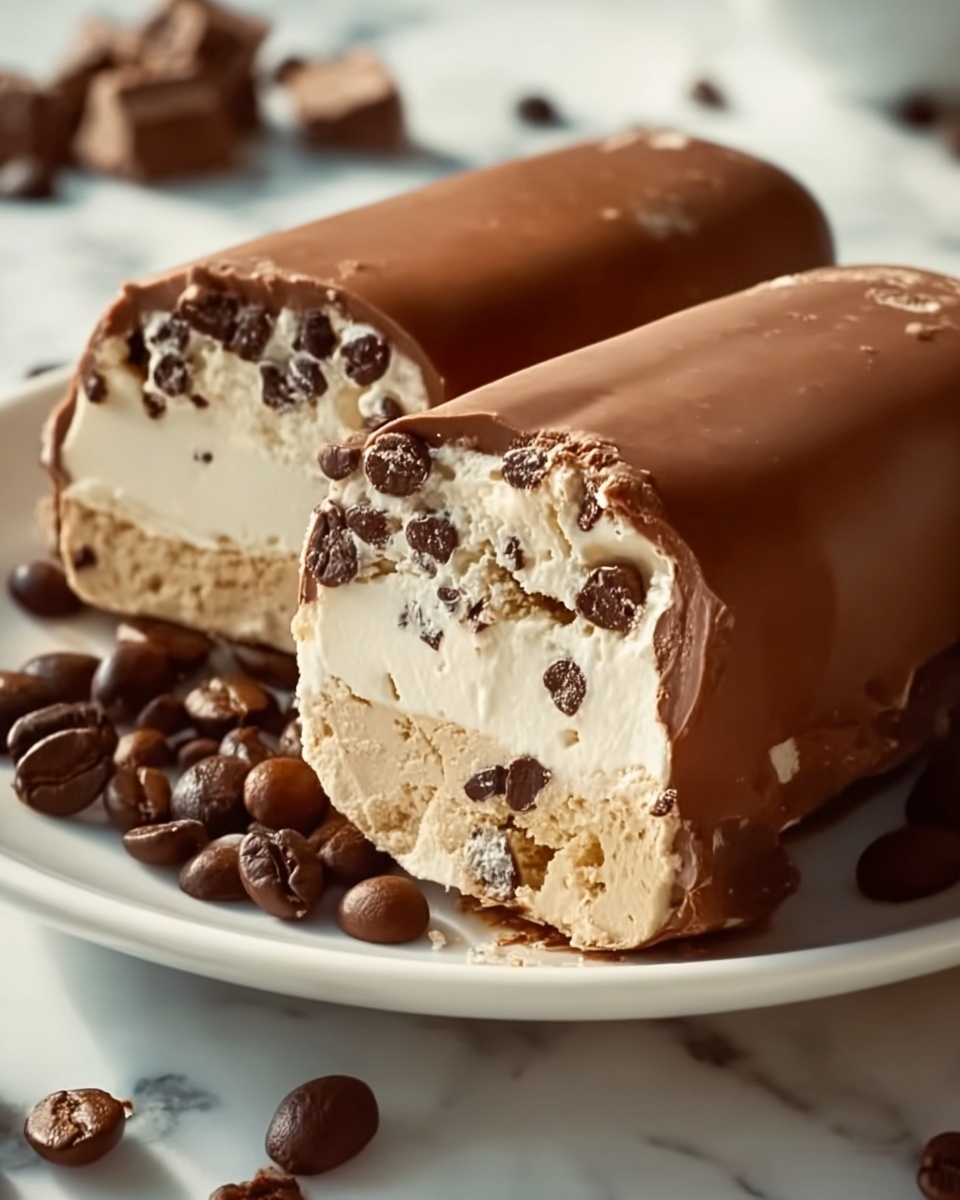
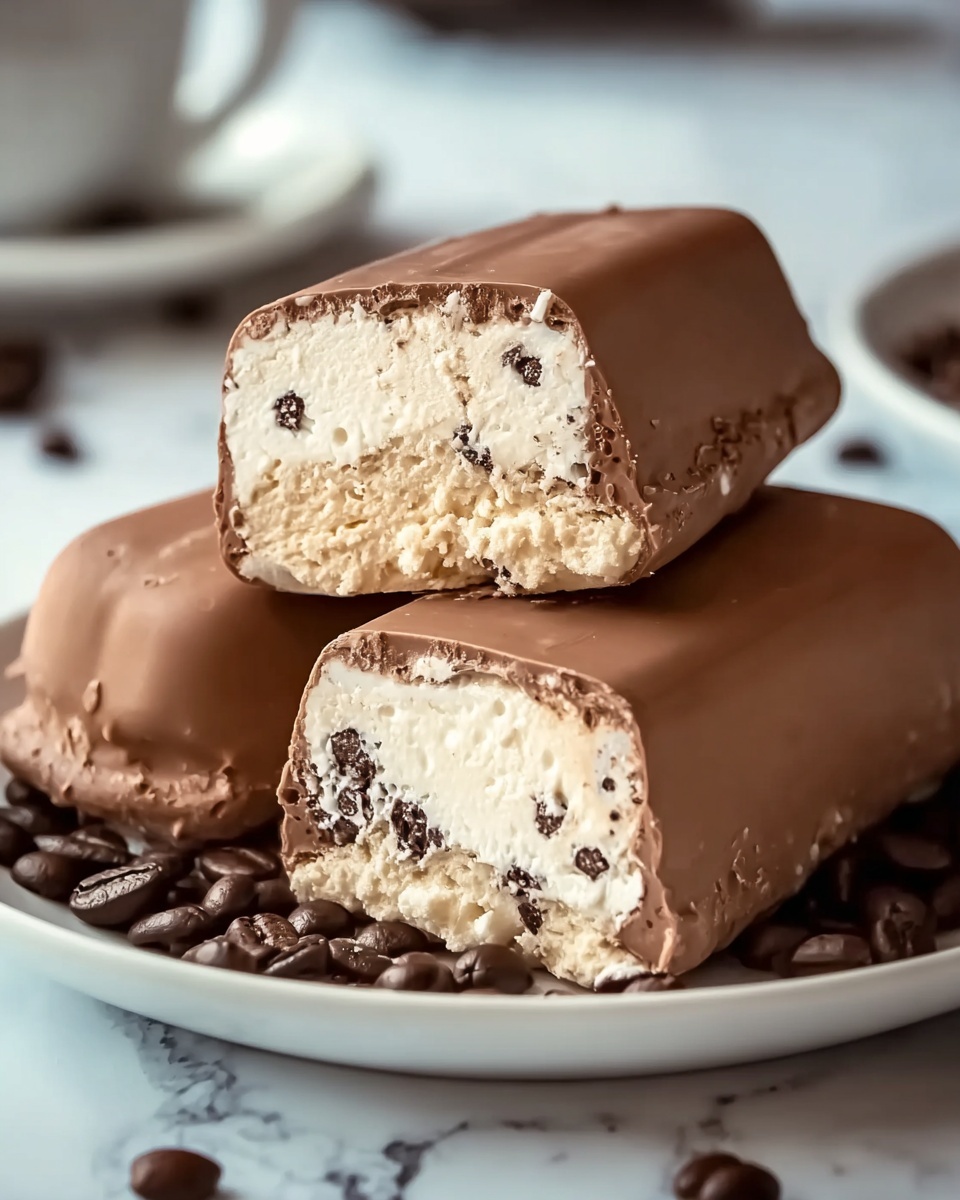
If you adore the rich, bold flavor of coffee and the creamy texture of ice cream, then this Homemade Coffee Ice Cream Recipe is about to become your new favorite treat. It’s a luscious dessert that perfectly balances the deep, aromatic essence of brewed coffee with velvety cream and just the right touch of sweetness. Whether you’re indulging on a warm day or craving a cozy dessert after dinner, making this ice cream at home is not only satisfying but truly elevates the whole experience of enjoying coffee in a fresh, delicious way.
Ingredients You’ll Need
The magic of this Homemade Coffee Ice Cream Recipe lies in its simple yet essential ingredients. Each one brings its own unique character to the final dish—from creamy richness and smooth texture to that unmistakable coffee kick—ensuring every bite delights your taste buds.
- 2 cups heavy cream: Provides that luxurious, creamy base every ice cream deserves.
- 1 cup whole milk: Adds freshness and lightness to balance the cream.
- 1 cup brewed strong coffee (cooled): The star ingredient that brings deep, robust flavor.
- 3/4 cup granulated sugar: Sweetens the ice cream perfectly without overpowering the coffee notes.
- 4 large egg yolks: Key to creating a smooth, custardy texture that melts on your tongue.
- 1 teaspoon vanilla extract: Enhances the coffee flavor while lending a subtle warmth.
- Pinch of salt: Balances the sweetness and heightens all the flavors.
How to Make Homemade Coffee Ice Cream Recipe
Step 1: Make the custard base
Start by combining your heavy cream, whole milk, and brewed coffee in a medium saucepan. Gently heat the mixture over medium heat until it’s hot but not boiling, stirring occasionally to blend those rich flavors together just right.
Step 2: Whisk the eggs
While the milk mixture warms, whisk the egg yolks and sugar in a separate bowl until the mixture turns pale and thickens slightly. This step ensures your ice cream will be silky and smooth, giving it that classic custard richness.
Step 3: Temper the eggs
Slowly add the hot milk mixture into the egg yolks a little at a time, whisking fervently as you go. This careful technique prevents the eggs from scrambling and helps create a perfectly creamy base.
Step 4: Cook the custard
Pour the blended mixture back into the saucepan. Cook it over medium heat, stirring constantly with a wooden spoon or spatula until it thickens enough to coat the back of the spoon. This usually happens around 170°F-175°F (77°C-80°C). Remember, no boiling here—patience is key for the perfect custard!
Step 5: Cool the custard
Once thickened, remove the custard from the heat and mix in the vanilla extract and a pinch of salt to accentuate all those wonderful flavors. Let it cool to room temperature, then pop it into the fridge for at least 4 hours or overnight until it’s thoroughly chilled.
Step 6: Churn the ice cream
Pour your chilled custard into your ice cream maker and churn it according to the manufacturer’s instructions. About 20 to 25 minutes later, you’ll be greeted with a soft, dreamy coffee ice cream that’s just waiting to be frozen and enjoyed.
Step 7: Freeze
Transfer the churned ice cream to an airtight container and freeze it for at least 4 hours to let it firm up and develop that wonderful scoopable texture.
Step 8: Serve
Now comes the fun part—scooping and indulging in your very own Homemade Coffee Ice Cream Recipe! The combination of creamy, smooth texture with that fragrant coffee punch is an absolute crowd-pleaser.
How to Serve Homemade Coffee Ice Cream Recipe
Garnishes
Elevate your coffee ice cream with thoughtful garnishes that complement its rich flavor. Sprinkle some finely crushed espresso beans for a crunchy twist or add a drizzle of dark chocolate sauce to amplify the coffee’s depth. A dollop of whipped cream and a dusting of cocoa powder also make excellent focuses of texture and flavor.
Side Dishes
This ice cream shines alongside desserts like warm chocolate brownies or pecan pie, adding a refreshing contrast to their richness. For a lighter pairing, serve it with crisp biscotti or buttery shortbread cookies for an irresistible coffee-and-sweet combo.
Creative Ways to Present
Feeling adventurous? Use your Homemade Coffee Ice Cream Recipe in affogatos by pouring a shot of hot espresso over a scoop for an Italian-inspired treat. Or create ice cream sandwiches using coffee-flavored cookies to keep the coffee vibes going strong. Presentation is all about fun and sharing that coffee joy in unexpected ways!
Make Ahead and Storage
Storing Leftovers
Store your homemade coffee ice cream in an airtight container to prevent it from absorbing any unwanted fridge odors. Keep the container flat and smooth the surface to minimize ice crystals forming on top, ensuring creamy perfection when you’re ready to enjoy it again.
Freezing
This ice cream freezes wonderfully and will keep well for up to two weeks. Just be sure to seal it well and keep it in the coldest part of your freezer. When you’re ready to savor, allow a few minutes at room temperature to soften slightly before scooping.
Reheating
Since ice cream is best enjoyed cold and creamy, reheating isn’t needed. However, if your ice cream becomes too firm, simply let it sit on the counter for 5 to 10 minutes or warm the scoop gently in your hands to make serving smooth and effortless.
FAQs
Can I use instant coffee instead of brewed coffee?
Absolutely! Dissolving high-quality instant coffee granules into a small amount of hot milk before adding it to the custard works well and can intensify the coffee flavor. Just adjust to your taste preferences.
Is it necessary to use egg yolks in this recipe?
Egg yolks are key for giving the ice cream that rich, custard-like texture. Without them, you might end up with a less creamy, icier result. If you want to avoid eggs, there are alternatives, but the texture will differ.
How strong should the coffee be?
Use a strong brewed coffee to ensure the flavor shines through against the sweetness and creaminess. Espresso or a dark roast are excellent choices for that bold taste.
Can I make this recipe dairy-free?
To make a dairy-free version, you can substitute coconut cream and almond milk or another plant-based milk, but keep in mind the texture and flavor will change. It’s still delicious, just a different experience!
How long does homemade coffee ice cream last in the freezer?
For best quality, consume within two weeks. After that, it might develop ice crystals or lose some smoothness, although it should still be safe to eat for a bit longer.
Final Thoughts
This Homemade Coffee Ice Cream Recipe is truly a celebration of two amazing worlds coming together—coffee’s boldness and ice cream’s creamy bliss. Making it yourself means you can control every element, ensuring the perfect balance that suits your taste. I can’t wait for you to give it a try and discover how incredibly satisfying homemade ice cream can be—especially when it tastes this good! Enjoy every single scoop.
Print
Homemade Coffee Ice Cream Recipe
- Prep Time: 15 minutes
- Cook Time: 20 minutes
- Total Time: 8 hours 35 minutes
- Yield: 1 quart (about 4 servings)
- Category: Dessert
- Method: Stovetop
- Cuisine: American
Description
This homemade coffee ice cream recipe offers a rich and creamy dessert infused with the bold flavor of strong brewed coffee. Made with a classic custard base of cream, milk, egg yolks, and sugar, it’s churned to perfection for a smooth texture and enhanced with vanilla for added depth. Ideal for coffee lovers seeking a delicious frozen treat made from scratch.
Ingredients
Custard Base
- 2 cups heavy cream
- 1 cup whole milk
- 1 cup brewed strong coffee (cooled)
- 3/4 cup granulated sugar
- 4 large egg yolks
- 1 teaspoon vanilla extract
- Pinch of salt
Instructions
- Make the custard base: In a medium saucepan, combine the heavy cream, whole milk, and brewed coffee. Heat the mixture over medium heat until it’s hot but not boiling, stirring occasionally to combine the ingredients evenly.
- Whisk the eggs: In a separate bowl, whisk together the egg yolks and granulated sugar until the mixture becomes pale and slightly thickened.
- Temper the eggs: Gradually pour the hot milk and coffee mixture into the egg yolk mixture, adding a little at a time while whisking constantly to prevent the eggs from scrambling.
- Cook the custard: Return the combined mixture to the saucepan and cook over medium heat, stirring constantly with a wooden spoon or spatula until the custard thickens enough to coat the back of the spoon, reaching about 170°F to 175°F (77°C to 80°C). Be careful not to let it boil.
- Cool the custard: Remove the saucepan from the heat, then stir in the vanilla extract and a pinch of salt. Let the custard cool to room temperature, then refrigerate it for at least 4 hours or overnight until it’s completely chilled.
- Churn the ice cream: Pour the chilled custard into an ice cream maker and churn according to the manufacturer’s instructions, usually for 20 to 25 minutes, until it reaches a soft-serve consistency.
- Freeze: Transfer the churned ice cream to an airtight container and freeze for at least 4 hours or until firm enough to scoop.
- Serve: Scoop the coffee ice cream into bowls or cones and enjoy your homemade creamy coffee-flavored treat.
Notes
- Make sure the coffee is strongly brewed to impart a robust flavor.
- Do not boil the custard to avoid curdling; heating until it thickens enough to coat the spoon is crucial.
- Chilling the custard thoroughly before churning helps achieve a smoother texture.
- If you don’t have an ice cream maker, pour the custard into a shallow container and freeze, stirring every 30 minutes until firm.
- The ice cream can be stored in the freezer for up to 2 weeks for best freshness.


