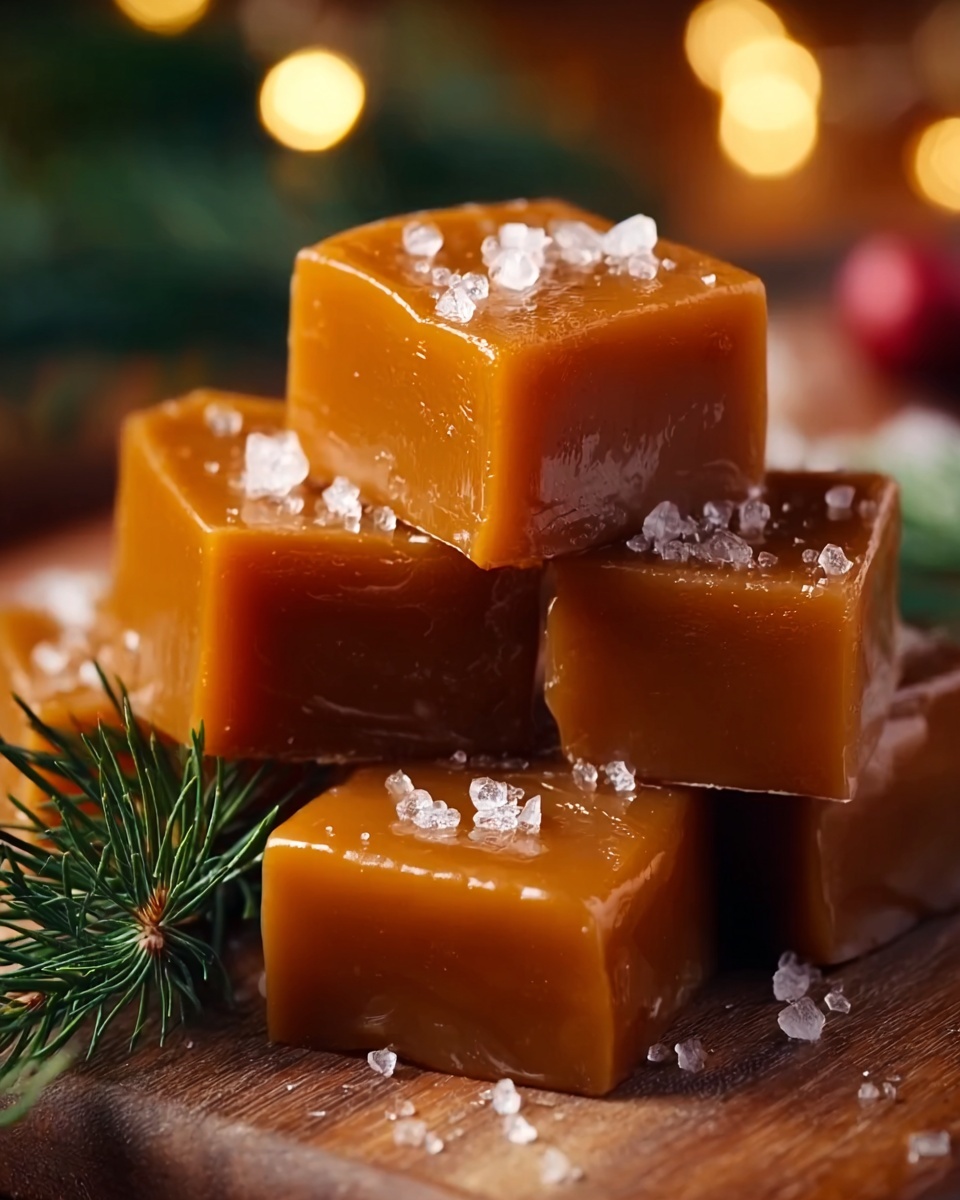
If you are searching for a sweet treat that captures the cozy magic of the holidays, look no further than this Homemade Christmas Caramels Recipe. These caramels offer a luscious, buttery chew with just the right touch of richness and a hint of vanilla that perfectly complements the festive season. Whether you’re gifting them to loved ones or savoring them by the fireside, this recipe transforms a handful of simple ingredients into a velvety indulgence that melts in your mouth and warms your heart.
Ingredients You’ll Need
The beauty of this recipe lies in its simplicity. Each ingredient plays a vital role, bringing the perfect balance of flavor, texture, and that iconic caramel color which makes these treats irresistible. Here’s what you’ll gather before you start whipping up these delicious squares.
- Unsalted butter: 1 cup, for a creamy base without added salt that allows full control over seasoning.
- Brown sugar: 2 1/4 cups packed, giving the caramel its rich, molasses-y depth and lovely brown hue.
- Light corn syrup: 1 cup, essential to prevent sugar crystallization and ensure smooth, chewable caramels.
- Sweetened condensed milk: 1 (14 oz) can, providing creaminess and sweetness while keeping the texture soft.
- Vanilla extract: 1 teaspoon, to add a subtle aromatic warmth to every bite.
- Salt: 1/4 teaspoon, balancing the sweetness and enhancing the overall flavor.
- Optional sea salt: a sprinkle for topping, adding a delightful contrast that makes each caramel pop with flavor.
How to Make Homemade Christmas Caramels Recipe
Step 1: Prepare the Baking Pan
To start on the perfect note, line an 8×8 inch baking pan with parchment paper, making sure to leave some overhang on the sides. This makes it so easy to lift the finished caramels out without sticking. Lightly grease the parchment with butter to further ensure your caramel releases cleanly.
Step 2: Melt the Butter
Gently melt the butter in a large saucepan over medium heat. It’s important to melt it without allowing it to brown, as the pure buttery flavor is crucial for the base of your caramels.
Step 3: Combine Ingredients
Once your butter is melted, stir in the brown sugar, light corn syrup, sweetened condensed milk, and salt. Mix thoroughly so everything starts to meld together before you bring the mixture to the next stage of cooking.
Step 4: Bring to a Boil
Turn up the heat and bring your mixture to a gentle boil. Then lower it to medium-low, attach a candy thermometer, and keep stirring until the temperature hits exactly 245°F (118°C). This precise moment is when your caramel reaches the perfect soft-ball stage, giving you those chewy, dreamy caramels you crave.
Step 5: Add Vanilla
Remove from heat and briskly stir in the vanilla extract. This final flavor addition is what elevates the caramels from simple sweetness to holiday magic.
Step 6: Pour and Set
Pour your luscious caramel mixture into the prepared pan, smoothing it out evenly. Let it patiently cool at room temperature for at least two hours to set — this step is where patience really pays off.
Step 7: Cut the Caramels
Once fully set, use the parchment paper overhang to lift the caramel slab out of the pan and place it on a cutting board. Cut into bite-sized squares to share the joy (or keep them all to yourself, we won’t judge).
How to Serve Homemade Christmas Caramels Recipe

Garnishes
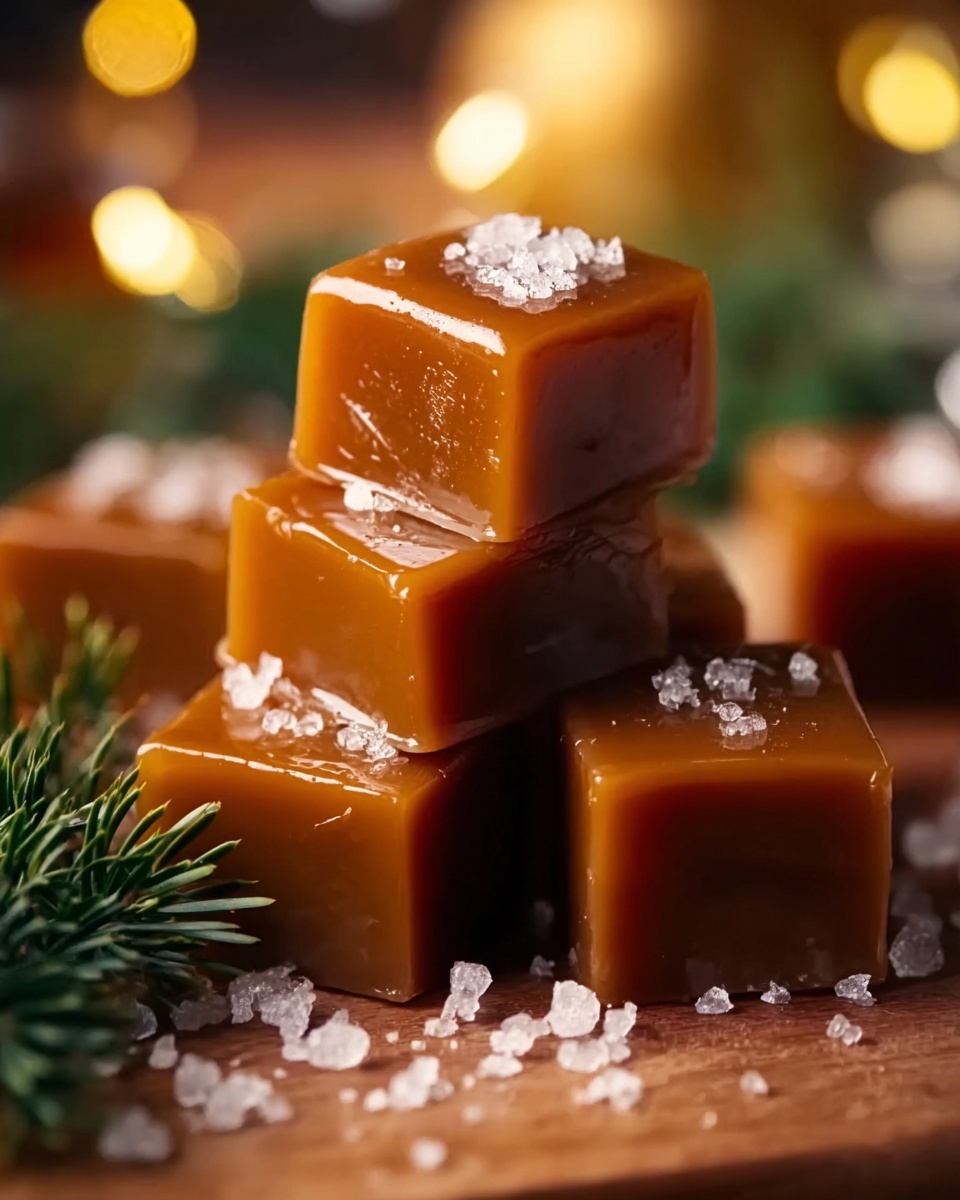
Sprinkling a light dusting of coarse sea salt on the top of your caramels just before they set adds a sophisticated contrast that brings out the buttery sweetness even more. For an extra festive flair, you can also roll the pieces lightly in finely chopped nuts or colored sugar crystals.
Side Dishes
These caramels shine on their own, but pairing them with a warm mug of spiced hot chocolate, a cup of robust coffee, or even a glass of creamy eggnog sets the holiday mood perfectly. They also make a delightful accompaniment to cheese boards featuring mild cheeses and fresh fruit.
Creative Ways to Present
Presentation can turn your Homemade Christmas Caramels Recipe into the standout gift or table centerpiece. Wrap individual squares in wax paper twisted at the ends, place them inside festive tins, or arrange them on holiday platters with ribbons for a charming homemade touch that will impress friends and family alike.
Make Ahead and Storage
Storing Leftovers
Once cut, store your caramels in an airtight container at room temperature. Layer them between parchment paper to prevent sticking. Properly stored, they will stay fresh and chewy for up to two weeks — plenty of time to savor or share.
Freezing
If you want to keep your caramels longer, freezing is a great option. Wrap each piece tightly in plastic wrap and store in a freezer-safe container or bag. Thaw them at room temperature when you’re ready to enjoy, maintaining their perfect texture.
Reheating
Caramels don’t necessarily need reheating, but if they become a bit too firm or cold, popping them in the microwave for a few seconds can soften them up wonderfully. Just be careful not to melt them completely.
FAQs
Can I use salted butter instead of unsalted?
Using salted butter is possible, but be cautious as it can make the caramels too salty. This recipe is balanced for unsalted butter, so if you substitute, reduce or omit the additional salt for best results.
What if I don’t have a candy thermometer?
While a candy thermometer is the most reliable way to hit the perfect temperature, you can test the caramel by dropping a small amount into cold water. If it forms a soft ball that can be pressed between fingers, it’s ready.
Can I add flavor variations to this Homemade Christmas Caramels Recipe?
Absolutely! Peppermint extract, a splash of bourbon, or a sprinkle of cinnamon can add delightful holiday twists. Just add these after removing from the heat alongside the vanilla extract.
Why do my caramels turn out grainy?
Graininess usually happens when the sugar crystallizes. Ensuring the corn syrup is included and stirring carefully while cooking helps prevent crystals, keeping your caramels smooth and creamy.
How long do homemade caramels last?
If stored properly in an airtight container at room temperature, your Homemade Christmas Caramels Recipe treats will stay fresh and delicious for up to two weeks.
Final Thoughts
There is nothing quite like the joy of making your own sweets from scratch, especially during the holidays. This Homemade Christmas Caramels Recipe is a true crowd-pleaser, simple yet stunning in flavor and texture. Give it a try, share with your favorite people, and watch those festive smiles light up every room. Trust me, these are going to be on your holiday favorites list for years to come!
Print
Homemade Christmas Caramels Recipe
- Prep Time: 10 minutes
- Cook Time: 20 minutes
- Total Time: 30 minutes
- Yield: 64 servings
- Category: Dessert
- Method: Stovetop
- Cuisine: American
Description
Delight in these rich and creamy homemade Christmas caramels, perfectly soft and buttery with a smooth, melt-in-your-mouth texture. This classic holiday treat combines brown sugar, butter, sweetened condensed milk, and a touch of vanilla to create the perfect sweet indulgence to share or gift during festive celebrations.
Ingredients
Main Ingredients
- 1 cup unsalted butter
- 2 1/4 cups packed brown sugar
- 1 cup light corn syrup
- 1 (14 oz) can sweetened condensed milk
- 1 teaspoon vanilla extract
- 1/4 teaspoon salt
Optional
- Sea salt for sprinkling on top
Instructions
- Prepare the Baking Pan: Line an 8×8 inch baking pan with parchment paper, leaving an overhang on each side for easy removal later. Lightly grease the parchment paper with butter to prevent sticking.
- Melt the Butter: In a large saucepan over medium heat, melt the butter carefully. Avoid browning it for a smooth caramel flavor.
- Combine Ingredients: To the melted butter, add the packed brown sugar, light corn syrup, sweetened condensed milk, and salt. Stir continuously until the mixture is fully combined.
- Bring to a Boil: Increase the heat to bring the mixture to a gentle boil. Then reduce the heat to medium-low. Attach a candy thermometer and cook, stirring frequently, until the temperature reaches 245°F (118°C), indicating the correct caramel stage.
- Add Vanilla: Remove the mixture from heat and quickly stir in the vanilla extract to infuse flavor.
- Pour and Set: Pour the hot caramel mixture into the prepared pan and spread evenly. Let the caramel cool and set at room temperature for at least 2 hours until firm.
- Cut the Caramels: Once fully set, use the parchment paper overhang to lift the caramel from the pan. Cut into desired square pieces, and optionally sprinkle with sea salt on top for an enhanced flavor contrast.
Notes
- Use a candy thermometer to ensure caramel reaches the perfect soft-ball stage for ideal texture.
- Do not let the butter brown to avoid a bitter taste.
- Caramels can be wrapped individually in wax paper for gifting or storage.
- Store caramels at room temperature in an airtight container for up to two weeks.
- For a vegan version, substitute sweetened condensed coconut milk and a plant-based butter alternative.


