
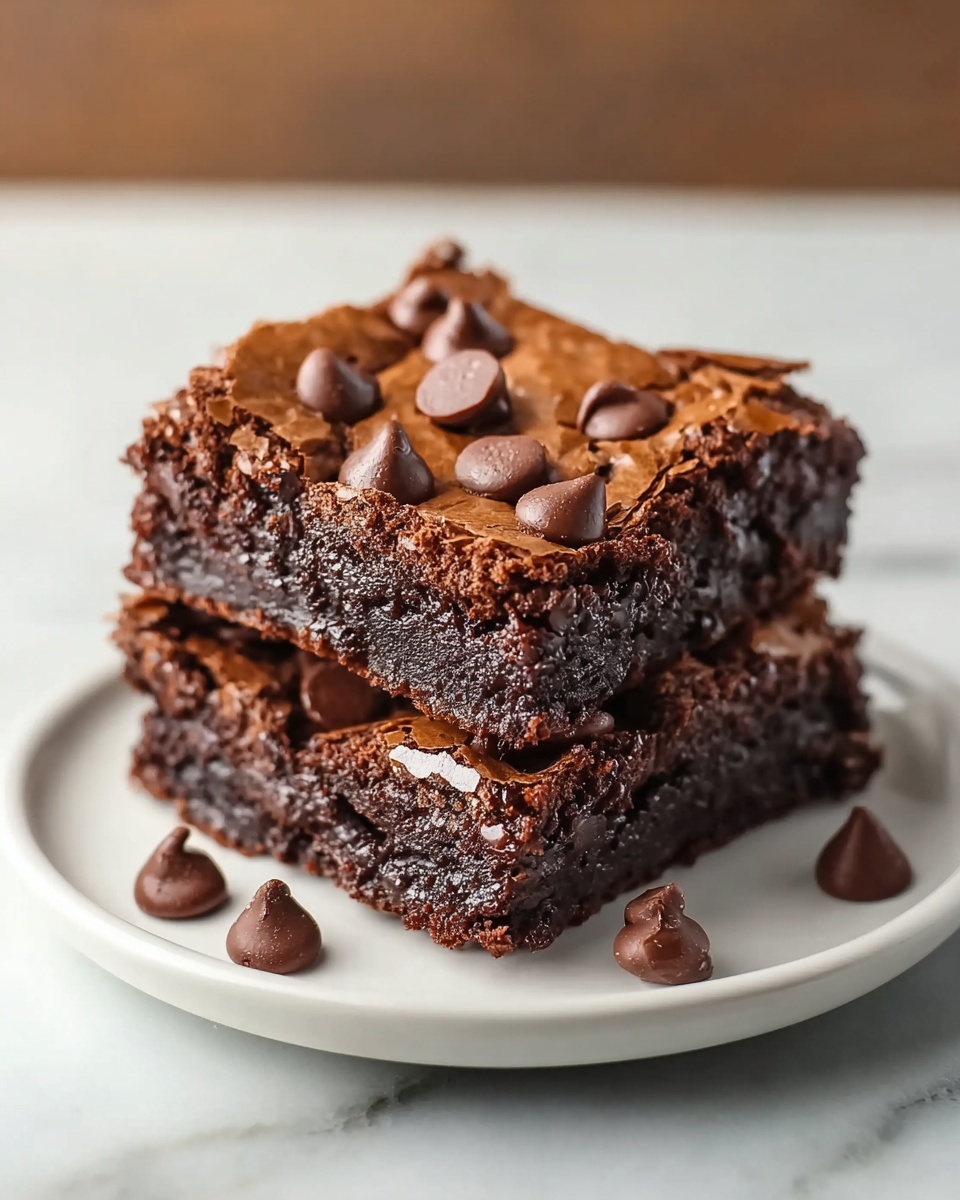
If you have been craving something rich, fudgy, and totally satisfying without the gluten, this Gluten-Free Brownies Recipe is the answer to your dessert dreams. These brownies bring together just the right balance of deep chocolate flavor and moist, tender crumb using simple ingredients you probably already have. Whether you’re new to gluten-free baking or a seasoned pro, this recipe offers an easy, fail-proof way to enjoy a classic treat without compromise. Get ready for a batch of brownies so good, you’ll be making them again and again.
Ingredients You’ll Need
Each ingredient in this recipe plays a crucial role in creating the ideal texture, flavor, and richness. The simplicity of these essentials makes it easy to focus on quality and taste, turning out indulgent gluten-free brownies with minimal fuss.
- Gluten-free flour blend: Provides structure and replaces regular flour while keeping the brownies tender and fluffy.
- Unsweetened cocoa powder: Delivers that signature deep chocolate flavor with natural bitterness and richness.
- Sugar: Balances the cocoa’s intensity while helping create a soft and chewy texture.
- Salt: Enhances all the flavors and rounds out the sweetness perfectly.
- Large eggs: Bind the ingredients together and add moisture for fudgy results.
- Unsalted butter (melted): Adds richness, keeps the brownies perfectly moist, and intensifies the chocolate taste.
- Vanilla extract: Brings warmth and complexity to the overall flavor profile.
- Chocolate chips (optional): Give an extra melty, gooey chocolate boost with every bite.
How to Make Gluten-Free Brownies Recipe
Step 1: Prepare Your Pan and Oven
Start by preheating your oven to 350°F (175°C). This ensures it’s reaching the perfect temperature by the time your batter is ready. Line an 8×8-inch baking pan with parchment paper or lightly grease it to prevent sticking and make removal simple once baked.
Step 2: Mix the Dry Ingredients
In a medium bowl, whisk together the gluten-free flour blend, cocoa powder, sugar, and salt. This combination lays the foundation for the brownies’ rich chocolate flavor and ensures even distribution of the dry ingredients for consistency.
Step 3: Combine the Wet Ingredients
In a separate bowl, beat the eggs with the vanilla extract until combined. Then stir in the melted butter, which helps add moisture and richness that make these brownies irresistibly fudgy.
Step 4: Bring Wet and Dry Together
Pour the wet ingredients into the dry mix and gently stir until just combined. Be careful not to overmix; this is key to keeping the brownies tender rather than cakey or dense. The batter should have a thick, luscious consistency.
Step 5: Add Chocolate Chips (If Using)
Fold in chocolate chips now for pockets of melted chocolate throughout the brownies. This optional step adds delightful texture and richness, but the brownies are fantastic without them as well.
Step 6: Bake to Perfection
Pour the batter evenly into the prepared pan and smooth the top with a spatula. Bake for about 20 to 25 minutes. You’ll know they’re done when a toothpick inserted in the center comes out with moist crumbs—but not wet batter—attached.
Step 7: Cool and Slice
Let the brownies cool in the pan for 10 to 15 minutes before slicing. Cooling allows them to set properly, making it easier to cut clean, neat squares that hold together without crumbling.
How to Serve Gluten-Free Brownies Recipe
Garnishes
Add a touch of elegance or extra flavor by sprinkling powdered sugar over the top or serving with a dollop of whipped cream. Fresh berries or a drizzle of caramel sauce can also elevate these brownies for a special occasion or an everyday treat.
Side Dishes
If you’re serving these brownies as part of a larger dessert spread, consider pairing with vanilla ice cream or a scoop of dairy-free frozen dessert. The contrast of warm, fudgy brownie with creamy ice cream is pure heaven and never gets old.
Creative Ways to Present
Try turning these brownies into bite-sized treats by cutting them into small squares or bars for parties or lunchbox snacks. Layer chunks in a parfait with yogurt and fruit for an unexpected twist. You can even sandwich them with a layer of peanut butter or frosting for an indulgent bite!
Make Ahead and Storage
Storing Leftovers
Store any leftover brownies tightly wrapped or in an airtight container at room temperature. They will stay fresh and moist for up to 3 days, making it easy to enjoy them throughout the week without losing any of that signature fudgy goodness.
Freezing
To freeze, wrap the brownies individually in plastic wrap and place in a freezer-safe bag or container. They freeze beautifully for up to 3 months, and thaw quickly at room temperature, retaining their delicious texture and flavor.
Reheating
If you want to warm them up, pop brownies in the microwave for 15-20 seconds or in a low oven for a few minutes. This revives that just-baked warmth and makes the chocolate chips melt slightly, making them extra tempting.
FAQs
Can I use a different gluten-free flour blend?
Yes! Most all-purpose gluten-free flour blends will work well here, but make sure your blend includes xanthan gum or another binder for the best texture.
What if I don’t have cocoa powder on hand?
You can substitute with melted unsweetened baking chocolate, but adjust the amount accordingly—typically 1 ounce of chocolate replaces 3 tablespoons of cocoa powder.
Are these brownies dairy-free?
This recipe uses butter, so it’s not dairy-free by default. However, you can substitute dairy-free margarine or coconut oil to make it suitable for dairy-free diets.
How fudgy are these brownies?
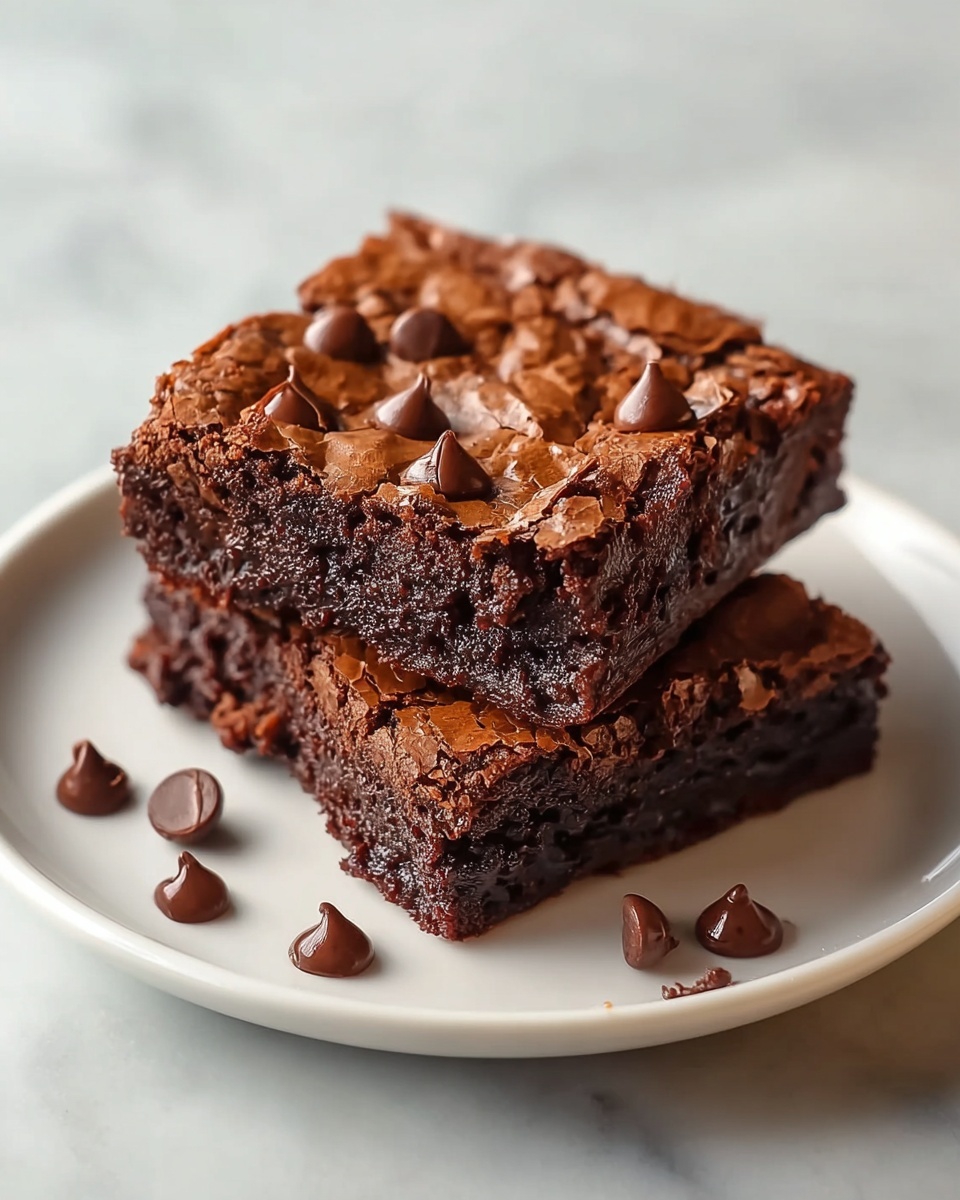
They are delightfully fudgy with a moist center thanks to the combination of eggs, melted butter, and careful mixing—you’ll love the texture!
Can I add nuts or other mix-ins?
Absolutely! Chopped walnuts, pecans, or even dried fruit make fantastic additions. Just fold them in when you add the chocolate chips or directly to the batter.
Final Thoughts
This Gluten-Free Brownies Recipe has quickly become one of my absolute favorites for its simplicity and delicious results. Whether you’re baking for yourself or sharing with friends and family who avoid gluten, these brownies deliver all the rich, chocolatey satisfaction anyone could ask for. Give them a try—you might just find yourself reaching for this recipe time and again!
Print
Gluten-Free Brownies Recipe
- Prep Time: 10 minutes
- Cook Time: 25 minutes
- Total Time: 35 minutes
- Yield: 9 servings
- Category: Dessert
- Method: Baking
- Cuisine: American
- Diet: Gluten Free
Description
Delicious and fudgy Gluten-Free Brownies that are easy to make and perfect for anyone seeking a gluten-free dessert option. These brownies are rich with cocoa flavor, moist in texture, and optionally studded with chocolate chips for extra indulgence.
Ingredients
Dry Ingredients
- 1/2 cup gluten-free flour blend
- 1/2 cup unsweetened cocoa powder
- 1/2 cup sugar
- 1/4 tsp salt
Wet Ingredients
- 2 large eggs
- 1/4 cup unsalted butter (melted)
- 1 tsp vanilla extract
Optional
- 1/2 cup chocolate chips
Instructions
- Preheat Oven and Prepare Pan: Preheat your oven to 350°F (175°C). Line an 8×8-inch baking pan with parchment paper or lightly grease it to prevent the brownies from sticking.
- Mix Dry Ingredients: In a medium bowl, whisk together the gluten-free flour blend, unsweetened cocoa powder, sugar, and salt until well combined.
- Mix Wet Ingredients: In a separate bowl, beat the two large eggs with the vanilla extract. Then add the melted unsalted butter and stir to incorporate.
- Combine Ingredients: Pour the wet ingredients into the dry ingredients and gently stir until just combined. Be careful to avoid overmixing to keep the brownies tender.
- Add Chocolate Chips: Fold in the chocolate chips evenly throughout the batter if you are using them.
- Pour Batter and Smooth Top: Transfer the batter into the prepared baking pan and smooth the surface with a spatula.
- Bake: Bake in the preheated oven for 20–25 minutes, or until a toothpick inserted into the center comes out with moist crumbs to ensure fudginess.
- Cool and Serve: Allow the brownies to cool in the pan for 10–15 minutes before slicing into 9 pieces and serving.
Notes
- Use a gluten-free flour blend that already contains xanthan gum or another binder for best results.
- Do not overmix the batter to keep brownies moist and tender.
- Chocolate chips are optional but add delicious pockets of melted chocolate.
- Allow brownies to cool sufficiently before slicing to prevent them from crumbling.
- Store leftover brownies in an airtight container at room temperature for up to 3 days or refrigerate for up to a week.

