
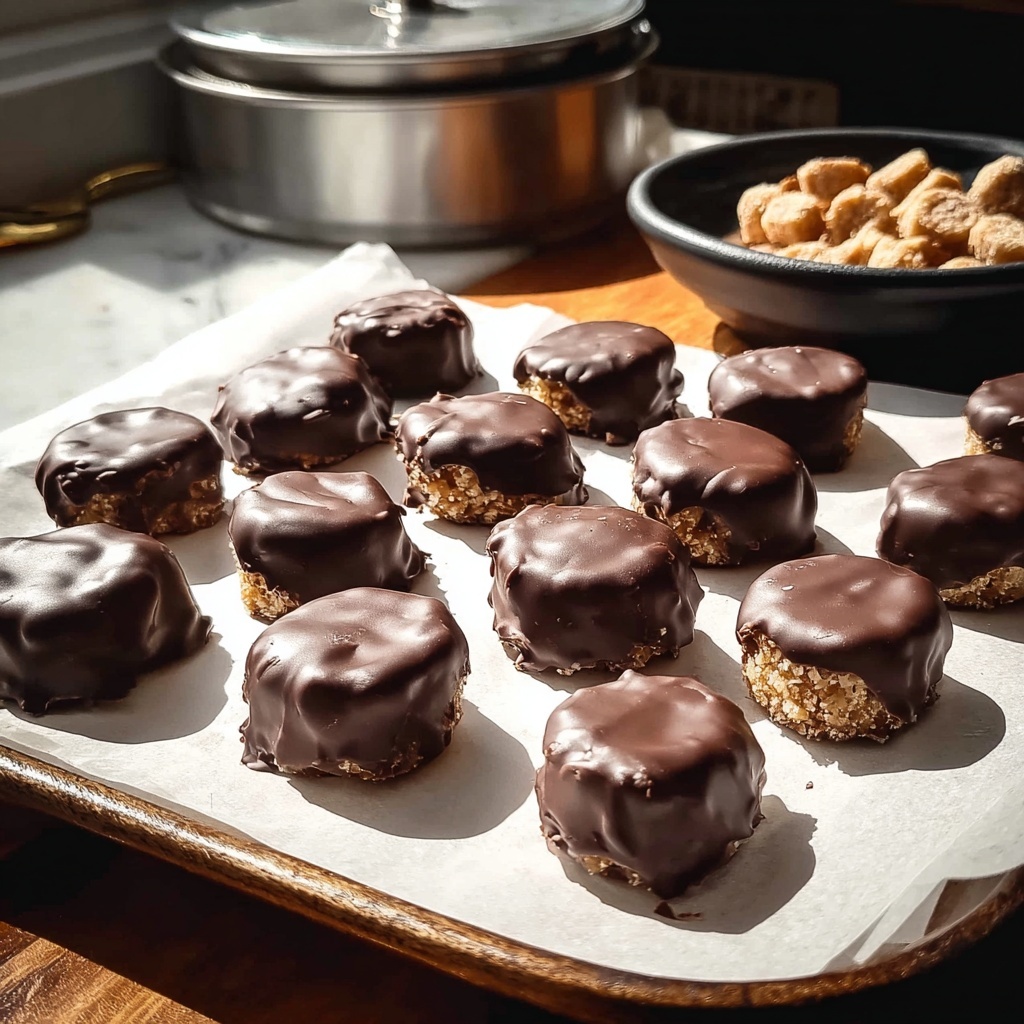
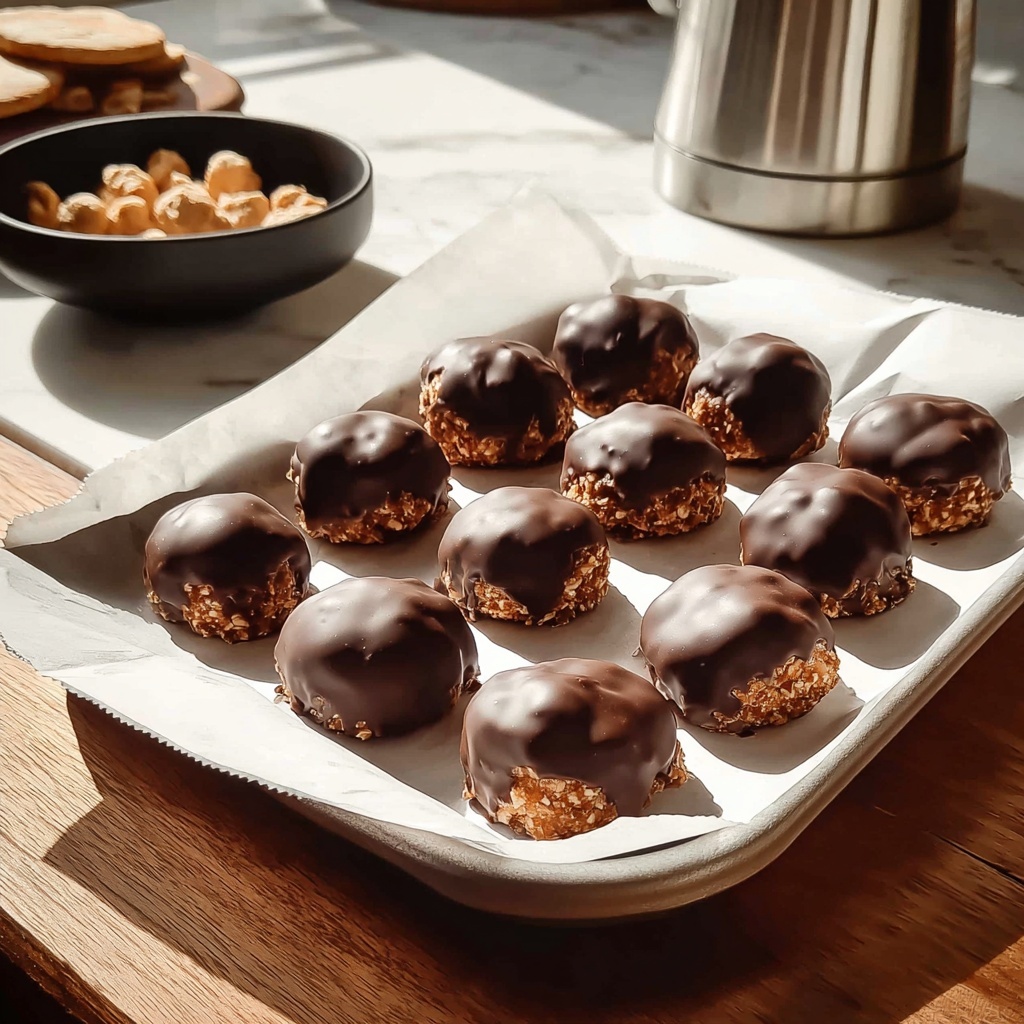
If you have a sweet tooth and love a delightful no-bake treat that combines rich peanut butter with the irresistible crunch of candy, then this Butterfinger Balls Recipe is going to be your new obsession. These bite-sized delights blend the creamy smoothness of peanut butter with the toffee-like crunch of crushed Butterfinger bars, all wrapped in a silky chocolate shell. Perfect for parties, gift-giving, or just a special indulgence, this recipe is as simple to make as it is delicious, offering a luscious texture and vibrant flavor in every mouthwatering bite.
Ingredients You’ll Need
Gathering the right ingredients is the first step to mastering this Butterfinger Balls Recipe. Each component plays a crucial role, from the creaminess of peanut butter to the sweet crunch of Butterfinger pieces, creating a harmonious blend of flavors and textures that make these treats unforgettable.
- Unsalted butter (4 tablespoons, softened): Adds creaminess and helps bind the mixture together smoothly.
- Vanilla extract (1 teaspoon): Enhances the overall flavor with a warm, aromatic note.
- Peanut butter (1 cup): The rich, nutty base that gives these balls their irresistible depth.
- Powdered sugar (1 cup): Sweetens and firms the filling with a silky texture.
- Graham cracker crumbs (¾ cup): Provide a subtle crunch and slight sweetness, balancing the peanut butter.
- Crushed Butterfinger bars (½ cup): Infuse the treat with that iconic brittle, crunchy candy flavor.
- Chocolate bark or chocolate chips (8 oz): Creates the glossy, irresistible coating that encases each ball.
- Optional toppings (crushed candy, sprinkles, flaky salt): Add a decorative touch and extra layers of flavor or texture.
How to Make Butterfinger Balls Recipe
Step 1: Blend the Base
Start by combining the peanut butter and softened butter in a mixing bowl. Use your electric mixer to beat them together until the mixture is perfectly smooth and creamy. This base is what anchors the whole recipe, so getting a silky consistency here is key.
Step 2: Add Flavor and Structure
Next, stir in the vanilla extract to add warmth and depth. Gradually add the powdered sugar while mixing, ensuring it’s thoroughly incorporated. This step sweetens the mixture and adds a delicate firmness, making the later shaping much easier.
Step 3: Fold in Crunchy Bits
Now, fold in the graham cracker crumbs along with the crushed Butterfinger pieces. Use a spatula or wooden spoon to gently mix everything, ensuring that those irresistible candy chunks are evenly distributed throughout the dough. This is where the magic crunch happens!
Step 4: Roll and Chill
Scoop out about 1 to 1½ tablespoons of the mixture and roll it into neat balls. Place them on a parchment-lined baking sheet to keep them from sticking. Pop the tray in the freezer for about 30 minutes; this chilling step firms up the balls, making the next step a breeze.
Step 5: Melt the Chocolate
While the balls chill, melt the chocolate bark or chips in a microwave-safe bowl. Heat at half power in 30-second increments, stirring between each burst until smooth and glossy. Patience here means perfectly melted chocolate ready for dipping.
Step 6: Dip and Decorate
One by one, dip each chilled ball into the melted chocolate, letting the excess drip off before placing them back on a clean tray. If you like, add toppings like crushed candy, sprinkles, or a sprinkle of flaky salt to elevate the flavor profile and add a fun burst of color or texture.
Step 7: Let Set
Allow the chocolate to harden naturally at room temperature for the best texture, or speed things up by refrigerating the tray. Once set, these Butterfinger Balls are ready to enjoy or package as delightful gifts.
How to Serve Butterfinger Balls Recipe
Garnishes
Brighten up your Butterfinger Balls Recipe with a sprinkle of crushed Butterfinger pieces on top or a dash of flaky salt for a surprise contrast. Colorful sprinkles or finely chopped nuts can also add visual appeal and a textural twist that makes every bite exciting.
Side Dishes
Serve these balls alongside a scoop of vanilla ice cream or a dollop of whipped cream to balance their richness. They also pair wonderfully with a hot cup of coffee or milk, making them a perfect afternoon pick-me-up or after-dinner treat.
Creative Ways to Present
Get playful with presentation by arranging Butterfinger Balls on decorative trays lined with doilies or edible gold leaf paper. You could also stack them in a tiered dessert stand or wrap them individually in colorful cellophane tied with ribbon for a stylish gift or party favor.
Make Ahead and Storage
Storing Leftovers
You can store leftover Butterfinger Balls in an airtight container in the refrigerator for up to one week. Keeping them chilled preserves their flavor and keeps the chocolate coating crisp and shiny.
Freezing
For longer storage, freeze these balls in a single layer on a baking sheet, then transfer them to a freezer-safe container or zip-top bag. They’ll keep great for up to three months, perfect for planning ahead or indulging whenever a craving strikes.
Reheating
Who says you have to eat Butterfinger Balls cold? Let them thaw slightly at room temperature for about 10 minutes before serving. Avoid microwaving to prevent the chocolate from melting unevenly and losing that perfect snap.
FAQs
Can I use crunchy peanut butter instead of creamy?
Absolutely! Crunchy peanut butter will add an extra layer of texture inside the Butterfinger Balls, making each bite even more interesting. Just keep in mind it might make shaping a bit less smooth.
What if I don’t have Butterfinger bars?
You can substitute with other crunchy candy bars like Heath or Skor for a similar toffee crunch. While the flavor profile will differ slightly, the overall texture and candy appeal remain fantastic.
Is there a way to make these nut-free?
To make a nut-free version, replace peanut butter with sunflower seed butter or soy nut butter. Just be sure the substitute you choose works well for mixing and setting, as texture can vary.
Can I use regular chocolate bars instead of chocolate bark or chips?
Yes, any good-quality melting chocolate or candy coating works. Chop chocolate bars finely to melt them evenly, and be cautious with heat to keep it smooth and glossy for dipping.
How do I prevent the balls from melting while dipping?
Keep the balls chilled until the very last minute before dipping, and work quickly to avoid melting. Also, ensure the chocolate isn’t too hot, as excessive heat can soften the balls.
Final Thoughts
This Butterfinger Balls Recipe is a true crowd-pleaser that combines simplicity with irresistible flavor and texture. Once you try these, they’ll quickly become a favorite to whip up for gatherings or just a special treat to savor anytime. Don’t hesitate to dive into making them – your taste buds will thank you with every delightful bite.
Print
Butterfinger Balls Recipe
- Prep Time: 15 minutes
- Cook Time: 0 minutes
- Total Time: 45 minutes
- Yield: 12 balls
- Category: Dessert
- Method: No-Cook
- Cuisine: American
Description
Delicious no-bake Butterfinger Balls combine creamy peanut butter, crunchy Butterfinger candy, and a smooth chocolate coating for a perfect sweet treat. These bite-sized desserts are quick to prepare, chilled to set, and ideal for chocolate and candy lovers looking for an easy homemade snack or party treat.
Ingredients
Base Ingredients
- 4 tablespoons unsalted butter (softened)
- 1 teaspoon vanilla extract
- 1 cup peanut butter (preferably Jif or Skippy)
- 1 cup powdered sugar
Crunchy Add-ins
- ¾ cup graham cracker crumbs
- ½ cup crushed Butterfinger bars
Coating and Toppings
- 8 oz chocolate bark or chocolate chips (for dipping)
- Optional toppings: crushed candy, sprinkles, flaky salt
Instructions
- Blend the Base: Combine the peanut butter and softened butter in a mixing bowl. Beat with an electric mixer until the mixture is smooth and creamy.
- Add Flavor and Structure: Stir in the vanilla extract, then gradually add powdered sugar. Mix thoroughly until all ingredients are fully incorporated into a smooth dough-like consistency.
- Fold in Crunchy Bits: Gently fold in the graham cracker crumbs and crushed Butterfinger bars using a spatula or wooden spoon. Make sure the mixture is evenly combined with these crunchy elements.
- Roll and Chill: Scoop out portions of the mixture, about 1 to 1½ tablespoons each, and roll them into balls. Place the balls on a parchment-lined baking sheet and freeze for 30 minutes to firm up.
- Melt the Chocolate: In a microwave-safe bowl, melt the chocolate bark or chips by heating at 50% power in 30-second intervals. Stir between each interval until the chocolate is completely melted and smooth.
- Dip and Decorate: Dip each chilled ball into the melted chocolate, allowing excess chocolate to drip off. Place the dipped balls onto a clean tray and, if desired, sprinkle with optional toppings such as crushed candy, sprinkles, or flaky salt.
- Let Set: Allow the chocolate coating to harden either at room temperature or speed up the process by refrigerating the balls until the chocolate is firm.
Notes
- Use smooth peanut butter for the best texture.
- Crushing Butterfinger bars finely helps them mix well and provide even crunch.
- Freezing the balls before dipping makes it easier to coat them with chocolate without melting.
- Store finished Butterfinger Balls in an airtight container in the refrigerator for up to one week.
- Optional toppings can add extra texture and visual appeal.
