
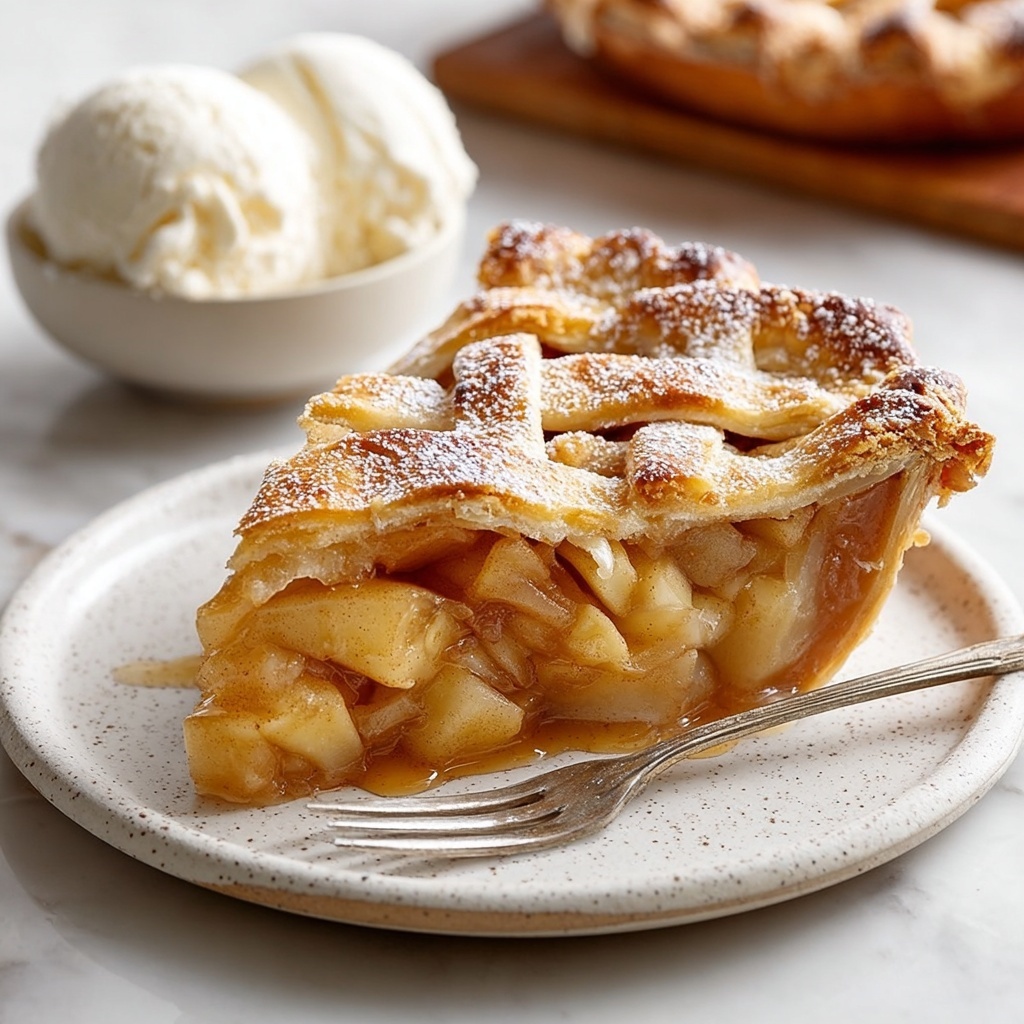
If you are on the hunt for a dessert that perfectly balances a buttery, flaky crust and a sweet, warmly spiced apple filling, then this Apple Slab Pie Recipe is destined to be your new best friend in the kitchen. This recipe takes the classic apple pie to a whole new level by baking it in a large slab form, making it perfect for sharing with family and friends, or saving some delicious slices for yourself later on. Every bite bursts with cozy autumn flavors wrapped in a tender crust that will make you swoon. Trust me, once you try this Apple Slab Pie Recipe, it will quickly become a staple in your dessert rotation.
Ingredients You’ll Need
Gathering these simple ingredients is your first step toward creating an irresistible Apple Slab Pie Recipe. Each one plays an essential role, from the crisp apples lending natural sweetness and texture to the cold butter that ensures a perfectly flaky crust.
- All-purpose flour (3 ¾ cups / 470g): The base of your crispy, tender pie crust.
- Granulated sugar (1 ½ tbsp): Adds a subtle sweetness to the dough without overpowering the filling.
- Table salt (1 ½ tsp): Enhances the flavors in both the crust and filling.
- Unsalted butter (3 sticks / 12 oz / 340g, cold and cubed): The secret to rich, flaky layers in your crust.
- Very cold water (¾ cup): Binds the dough without melting the butter, crucial for texture.
- Apples (3 ½ to 4 pounds / 10 cups), peeled, cored, and chopped: Choose a combination of tart and sweet apples for a balanced filling.
- Lemon juice (a squeeze): Keeps your apples from browning and adds a fresh tang.
- Sugar (⅔ to ¾ cup): Depending on your apples’ sweetness, this keeps the filling just right.
- Cornstarch (3 tbsp): Thickens the juicy filling so it’s perfectly set after baking.
- Ground cinnamon (1 tsp): Creates that classic warm spice note we all love in apple pie.
- Ground nutmeg (¼ tsp): Adds a cozy hint of warmth.
- Ground allspice (¼ tsp): Complements the other spices with a subtle complexity.
- Table salt (⅛ tsp): Balances the filling flavors beautifully.
- Heavy cream or egg wash (2 tbsp): For brushing the top crust to achieve a golden, glossy finish.
How to Make Apple Slab Pie Recipe
Step 1: Mix the Flour, Sugar, and Salt
Start by whisking together the all-purpose flour, granulated sugar, and salt in a large bowl. This dry mix forms the foundation of your crust and ensures that every bite has a touch of sweetness and a hint of flavor right from the start.
Step 2: Cut in the Butter
Add the cold, cubed butter to your dry ingredients. Use your fingertips or a pastry cutter to work the butter into the flour mixture until the chunks are about the size of peas. This step creates those coveted flaky layers in your crust once baked.
Step 3: Incorporate Cold Water
Slowly add ½ cup of very cold water, stirring gently with a rubber spatula. Keep adding small amounts until the dough begins to come together without being sticky. The cold temperature helps keep the butter from melting, which is key for a tender crust.
Step 4: Divide and Chill the Dough
Split the dough into two rectangles, one slightly bigger than the other for the bottom and top crusts. Wrap each piece tightly in plastic wrap and chill them in the refrigerator for at least two hours. This resting time allows the gluten to relax and the butter to firm up again.
Step 5: Prepare the Apple Filling
In a large bowl, toss the peeled, cored, and chopped apples with a squeeze of lemon juice to keep them bright and fresh. In a separate bowl, mix sugar, cornstarch, and the aromatic spices of cinnamon, nutmeg, allspice, and a pinch of salt.
Step 6: Combine Apples and Spices
Pour the sugar and spice mixture over the apples and toss everything until the fruit is evenly coated. Let the filling sit while you get your dough ready, giving the flavors time to meld beautifully.
Step 7: Preheat and Roll Out Bottom Crust
Heat your oven to 375°F. Roll out the larger dough piece on a lightly floured surface into an 18 by 13-inch rectangle. Gently fit it into a parchment-lined jelly roll pan, allowing the edges to hang over the sides for easy sealing.
Step 8: Add the Filling
Spread the luscious apple mixture evenly over the bottom crust. Don’t worry if it looks like too much; as the pie bakes, the apples will soften and the filling will thicken up nicely, forming the perfect gooey center.
Step 9: Roll Out and Place Top Crust
Roll out the smaller dough piece into a 16 by 11-inch rectangle and place it carefully over the apples. Trim any excess dough and use your fingers or a fork to crimp the edges, sealing in all those juicy apple flavors perfectly.
Step 10: Prepare for Baking
Brush the top crust with heavy cream or an egg wash to achieve a beautifully golden and glossy finish once baked. Use a sharp knife to cut several slits into the crust—these vents allow steam to escape so your crust stays crisp, not soggy.
Step 11: Bake Your Apple Slab Pie
Place the jelly roll pan on a larger baking sheet to catch any bubbling filling that might spill over during baking. Pop it into the oven and bake for 40 to 45 minutes until the crust is golden brown and the filling is deliciously bubbly.
Step 12: Cool and Enjoy
Let your Apple Slab Pie Recipe cool for at least 45 minutes before slicing. This waiting time allows the filling to set so each slice holds together beautifully, making every bite as satisfying as the first.
How to Serve Apple Slab Pie Recipe
Garnishes
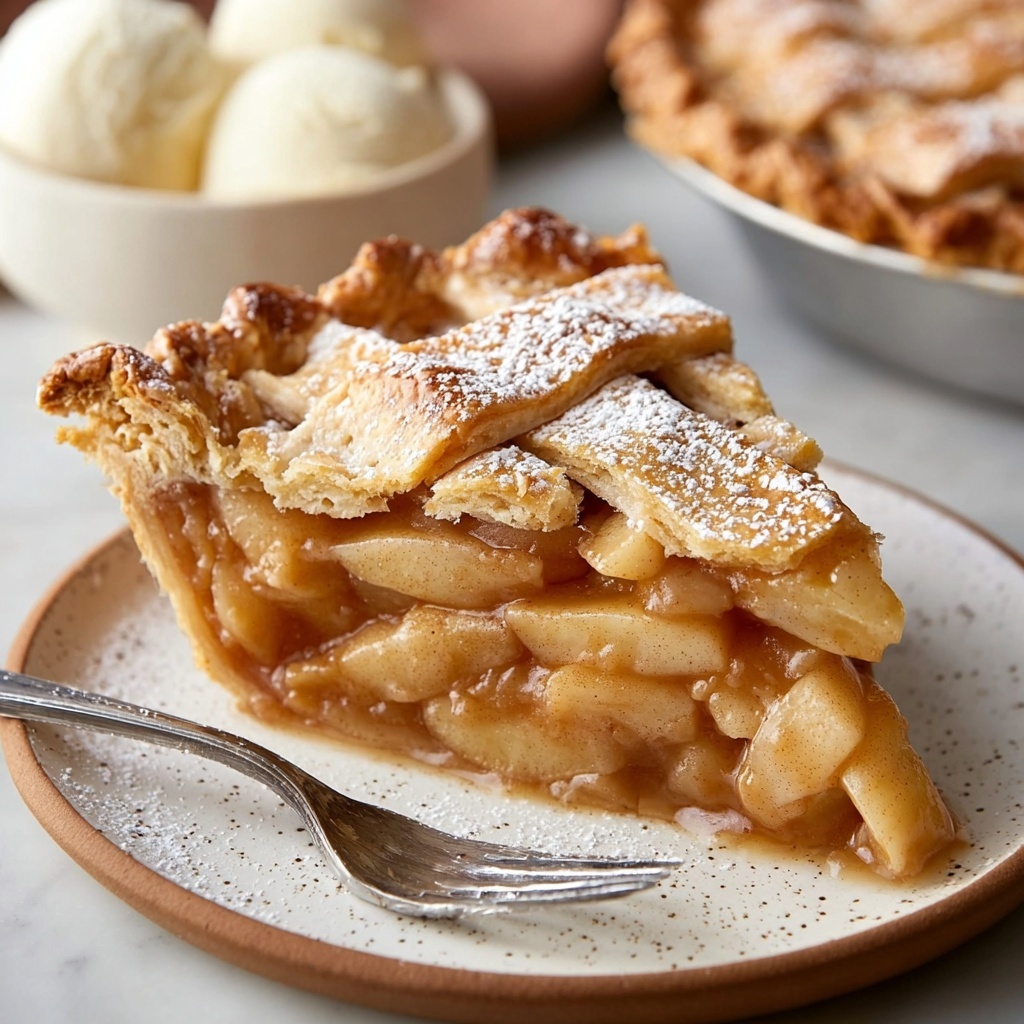
A scoop of vanilla ice cream melting slowly over a warm slice is a classic that never fails to impress. Alternatively, a dollop of freshly whipped cream or a drizzle of caramel sauce can elevate the flavors even more and add a touch of luxury.
Side Dishes
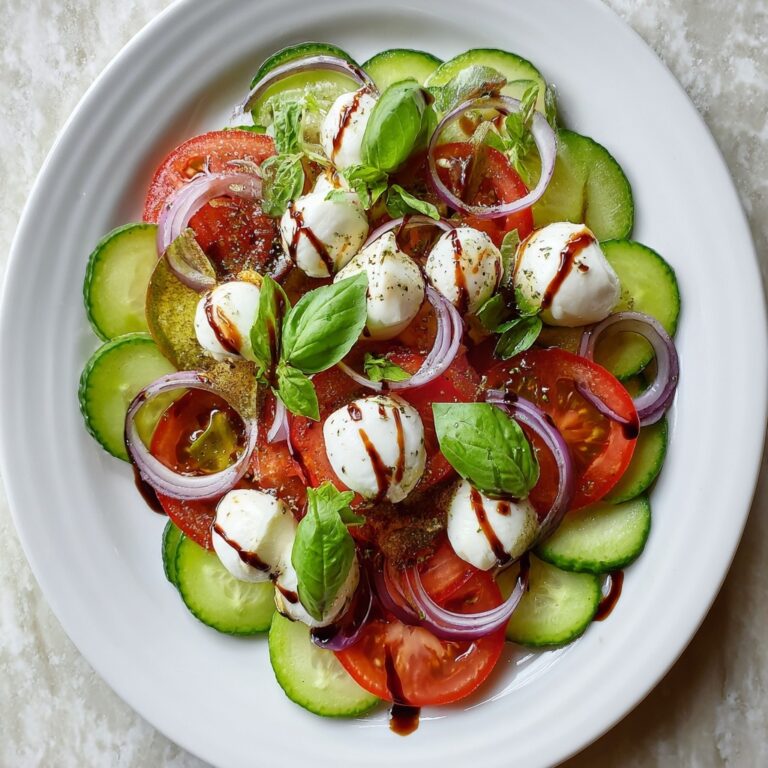
Pair your slab pie with a cup of hot coffee or a spiced tea to complement the warm spices and sweetness. For a brunch setting, a crisp green salad balances the richness wonderfully, creating a complete and satisfying meal.
Creative Ways to Present
Serve individual slices on rustic wooden boards for a charming touch at gatherings, or cut the pie into fun shapes using cookie cutters for festive occasions. You can also layer slices between two pieces of toasted brioche to create an unforgettable apple pie sandwich that’s perfect for on-the-go indulgence.
Make Ahead and Storage
Storing Leftovers
Keep any leftover Apple Slab Pie covered loosely with foil or plastic wrap and store it in the refrigerator. It will stay fresh and delicious for up to five days, making it easy to enjoy this treat over several occasions without any extra effort.
Freezing
This pie freezes beautifully. Wrap the fully cooled pie tightly in plastic wrap and then in aluminum foil to prevent freezer burn. It can be frozen for up to three months, allowing you to savor this classic dessert any time you like.
Reheating
To enjoy the pie warm, reheat slices in a preheated oven at 350°F for about 15 to 20 minutes or until heated through. Avoid the microwave if you want to keep that perfect flaky crust texture intact—oven reheating is the way to go for the best results.
FAQs
Can I use frozen apples for this Apple Slab Pie Recipe?
While fresh apples give the best texture, you can use frozen apples in a pinch. Just be sure to thaw and drain them thoroughly to avoid excess moisture in your pie filling.
What types of apples work best in this recipe?
A mix of tart and sweet apples like Granny Smith and Honeycrisp adds a wonderful complexity of flavor and ensures the filling isn’t overly sweet or mushy.
Is it possible to make the crust dairy-free?
Yes! You can substitute the unsalted butter with a dairy-free margarine or coconut oil, but keep the fat cold for a flaky crust texture.
How important is chilling the dough?
Chilling the dough for at least two hours is key to preventing the butter from melting too soon, which helps create those beautiful flaky layers in your crust.
Can I double the recipe to make two pies?
Absolutely! Just be sure to prepare enough dough and filling, and use two jelly roll pans or a larger baking dish to accommodate the increased volume.
Final Thoughts
This Apple Slab Pie Recipe is truly a labor of love that rewards you with comforting flavors and a pie that’s big enough to share or savor over several days. The combination of flaky crust, tender spiced apples, and a golden finish makes it a standout dessert that’s perfect for any occasion. Give it a try—you might just find that this rustic, charming pie becomes your go-to crowd-pleaser and a heartfelt favorite in your baking adventures.
Print
Apple Slab Pie Recipe
- Prep Time: 30 minutes
- Cook Time: 45 minutes
- Total Time: 1 hour 15 minutes
- Yield: 12 slices
- Category: Dessert
- Method: Baking
- Cuisine: American
Description
This classic Apple Slab Pie combines a flaky, buttery crust with a spiced, tender apple filling perfect for any occasion. Baked to golden perfection in a jelly roll pan, this recipe yields 12 generous slices of comforting homemade pie.
Ingredients
For the Pie Dough
- 3 ¾ cups (470g) all-purpose flour
- 1 ½ tbsp granulated sugar
- 1 ½ tsp table salt
- 3 sticks (12 oz / 340g) unsalted butter, cubed and kept cold
- ¾ cup very cold water (adjust as needed)
For the Filling
- 3 ½ to 4 pounds apples (10 cups), peeled, cored, and chopped
- A squeeze of lemon juice
- ⅔ to ¾ cup sugar, depending on sweetness of apples
- 3 tbsp cornstarch
- 1 tsp ground cinnamon
- ¼ tsp ground nutmeg
- ¼ tsp ground allspice
- ⅛ tsp table salt
For the Topping
- 2 tbsp heavy cream or 1 egg beaten with 1 tbsp water for brushing
Instructions
- Mix Dry Ingredients: In a large bowl, whisk together the flour, granulated sugar, and salt until combined evenly.
- Incorporate Butter: Add the cold, cubed butter to the dry ingredients and use your fingers or a pastry cutter to break the butter into pea-sized pieces, creating a coarse, crumbly texture.
- Add Water and Form Dough: Slowly stir in half a cup of very cold water using a rubber spatula and add more water gradually as needed until the dough just comes together without being sticky.
- Divide and Chill Dough: Split the dough into two portions, with one slightly larger than the other, shape each into a rectangle, wrap in plastic wrap, and refrigerate for at least 2 hours to chill and firm up.
- Prepare Apple Filling: In a large bowl, toss the peeled and chopped apples with a squeeze of fresh lemon juice to prevent browning.
- Mix Spices and Thickener: In a separate bowl, combine the sugar, cornstarch, ground cinnamon, nutmeg, allspice, and salt thoroughly.
- Combine Filling Ingredients: Add the sugar and spice mixture to the apples and toss everything together until the apples are evenly coated with the mixture; let sit while rolling out the dough.
- Preheat Oven: Set your oven to 375°F (190°C) to prepare for baking the pie.
- Roll Out Bottom Crust: On a lightly floured surface, roll the larger piece of dough into an 18 by 13-inch sheet, then gently press it into a parchment-lined jelly roll pan with edges hanging over the sides.
- Add Filling to Crust: Evenly spread the apple filling over the bottom crust; the filling will reduce as it bakes.
- Roll Out Top Crust: Roll the smaller dough piece into a 16 by 11-inch sheet and carefully lay it over the apple filling.
- Seal Edges: Trim excess dough and crimp the edges securely to seal the pie and prevent leakage during baking.
- Apply Wash: Brush the top crust with either heavy cream or an egg wash made by whisking 1 egg with 1 tablespoon of water to achieve a golden finish.
- Vent Pie: Cut several slits in the top crust to allow steam to escape while baking.
- Prepare for Baking: Place the pie pan on a larger baking sheet to catch any filling that might bubble over during baking.
- Bake Pie: Bake in the preheated oven for 40 to 45 minutes, until the crust turns golden brown and the filling bubbles visibly.
- Cool Before Serving: Allow the pie to cool for at least 45 minutes to set the filling before slicing and serving.
Notes
- Ensure the butter stays cold while making the dough to achieve a flaky crust.
- Adjust sugar in the filling according to the sweetness of your apples to balance flavor.
- Use tart apple varieties like Granny Smith for the best flavor and texture.
- Resting the dough in the refrigerator is essential for easier handling and flaky results.
- Letting the pie cool fully ensures clean slices and prevents the filling from being too runny.


