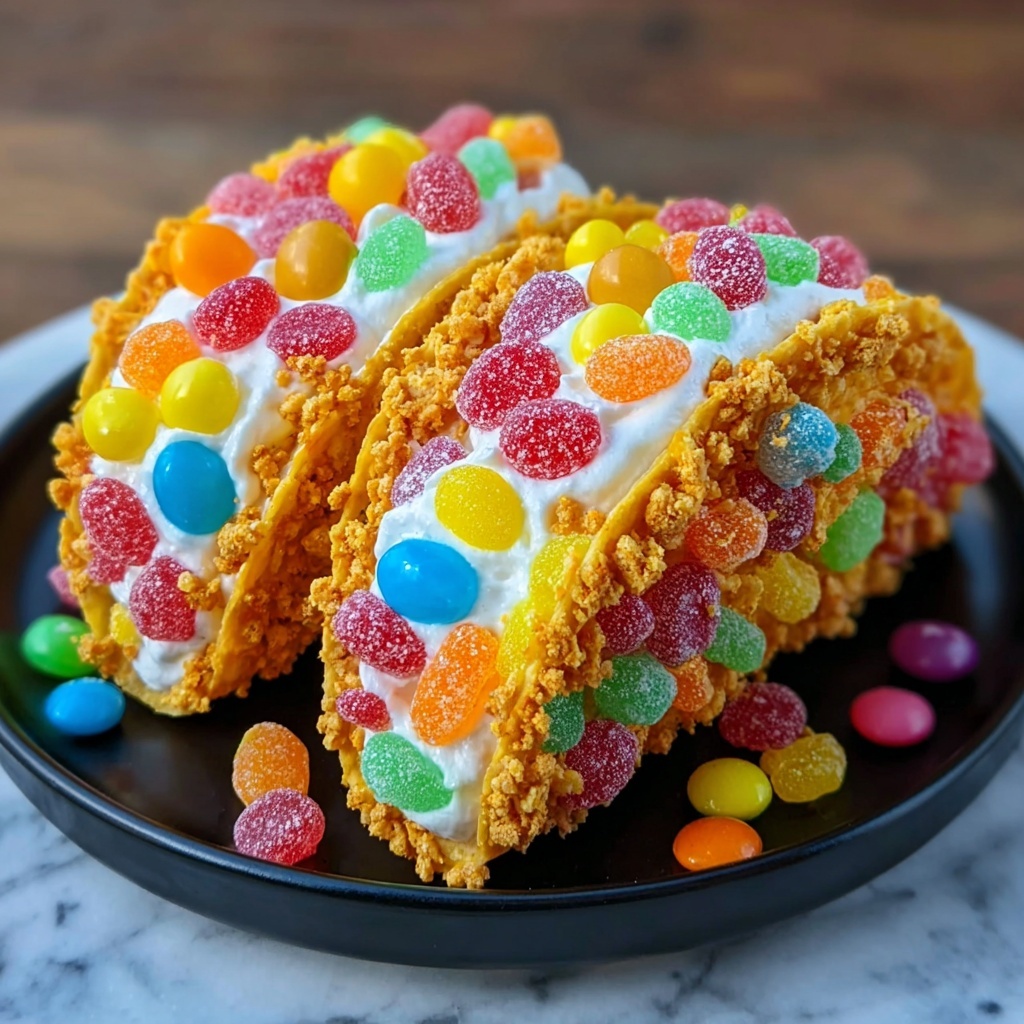
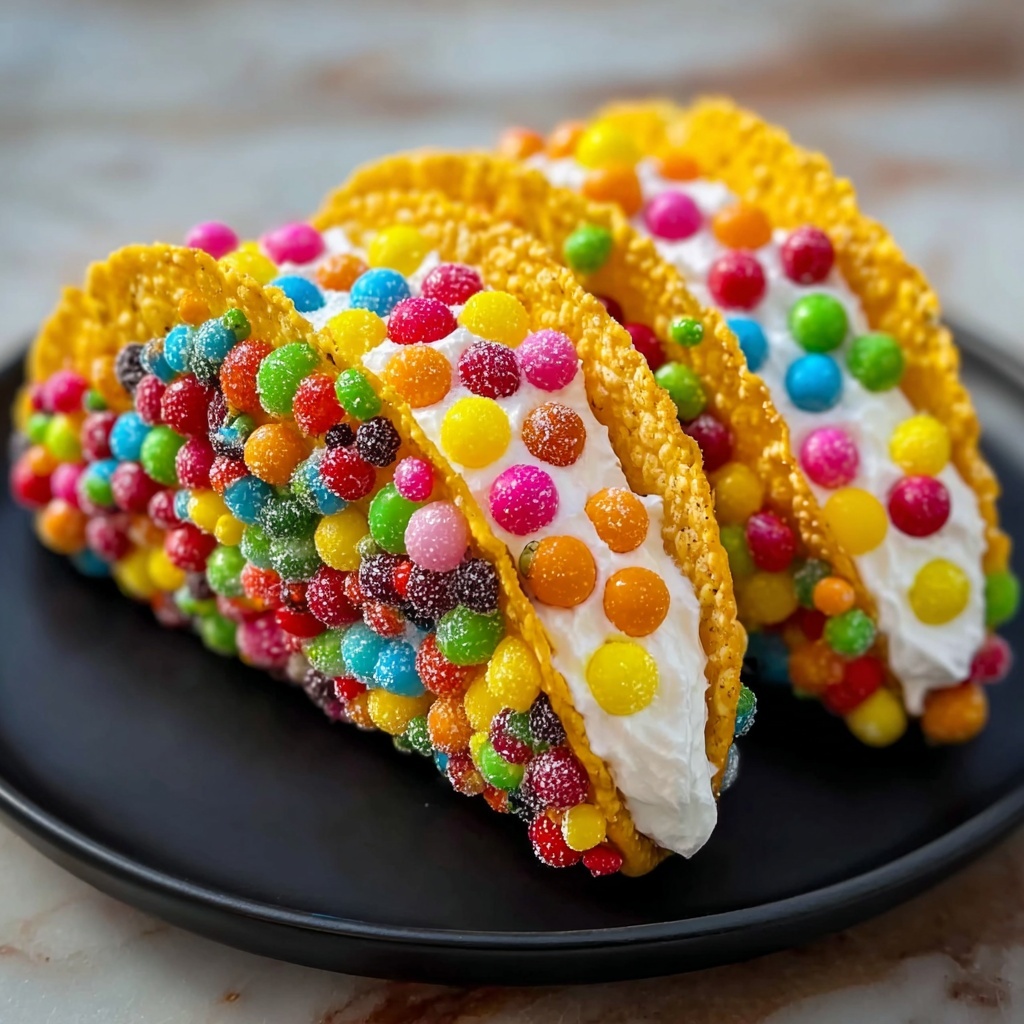
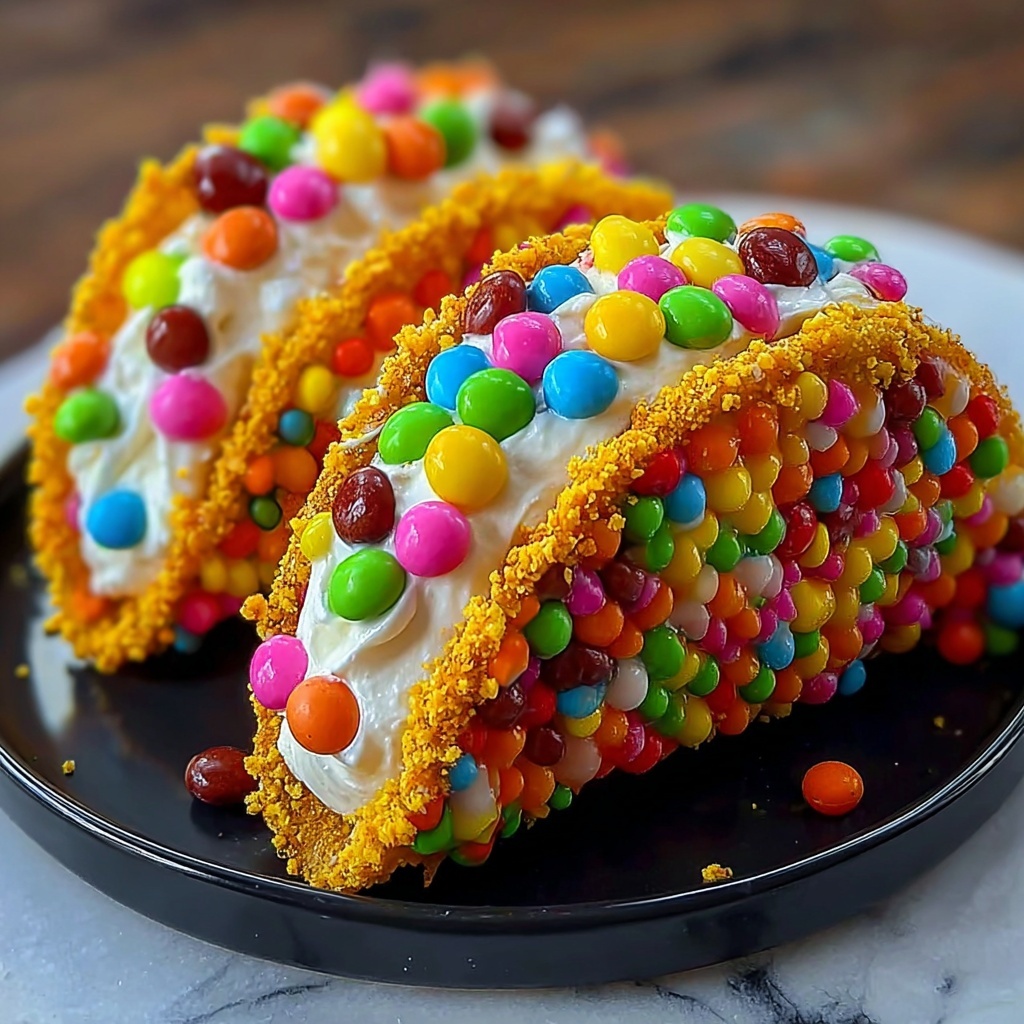
If you have a sweet tooth and love fun, colorful desserts, then you are going to fall head over heels for this Fruity Pebbles Cheesecake Tacos Recipe. Imagine crispy, crunchy taco shells made from vibrant fruity cereal, filled with luxuriously smooth and fluffy cheesecake filling that melts in your mouth. This playful treat brings together the nostalgia of your favorite breakfast cereal with the indulgence of cheesecake, creating a dessert that’s as delightful to eat as it is to look at. Whether you’re making it for a party, a family dessert, or just a special treat to brighten your day, these cheesecake tacos will become an instant favorite that everyone will talk about.
Ingredients You’ll Need
Gathering the right ingredients is the first step to making magic happen with the Fruity Pebbles Cheesecake Tacos Recipe. Each element is simple but plays a vital role: the cereal brings colorful crunch, the butter helps shape the shells, and the creamy filling balances sweetness and richness perfectly.
- 3 cups fruity cereal: This provides the bright, nostalgic base with crunch and vibrant colors.
- 1/2 cup unsalted butter (melted): Helps bind the cereal together to form sturdy taco shells while adding a subtle richness.
- 8 oz cream cheese (softened): The star of the filling — smooth, tangy, and creamy for that classic cheesecake flavor.
- 1/2 cup powdered sugar (sifted): Adds the perfect degree of sweetness without any graininess to the filling.
- 1 tsp pure vanilla extract: Elevates the flavor with a warm, aromatic note that complements the cream cheese beautifully.
- 1 cup whipped cream (freshly whipped): Lightens the filling, giving it that dreamy, airy texture that makes every bite delightful.
- Additional fruity cereal (for garnish): For a final burst of color and crunch that makes the presentation pop.
How to Make Fruity Pebbles Cheesecake Tacos Recipe
Step 1: Prepare the Cereal Shells
Start by mixing your 3 cups of fruity cereal with the melted butter in a large bowl. Make sure every piece is evenly coated—this sticky, colorful mixture is what will form your taco shells. The even coating ensures they hold their shape and get that perfect crispness.
Step 2: Mold and Chill the Shells
Press the buttered cereal firmly into taco-shaped molds or muffin tins. Compacting well is key here so the shells hold together once chilled. Pop them into the refrigerator for at least 30 minutes to set completely; this step is essential for sturdy, crack-free shells that are ready to be filled.
Step 3: Make the Cheesecake Filling
Using a hand mixer, beat the softened cream cheese until it’s light and fluffy. Add the sifted powdered sugar and vanilla extract gradually, continuing to mix until the filling is smooth and creamy. This silky base is where all the indulgence comes from.
Step 4: Fold in the Whipped Cream
Next, gently fold the freshly whipped cream into the cream cheese mixture. This step creates a light, airy texture that makes the filling feel almost like a cloud in every bite—just be careful not to overmix, or you’ll lose that delicate fluffiness.
Step 5: Assemble the Cheesecake Tacos
Once your cereal shells have firmed up, spoon the luscious cheesecake mixture into each one generously. This step is hugely satisfying as you see the colorful shells filled with creamy goodness—a total crowd-pleaser.
Step 6: Add the Final Crunch and Color
Before serving, sprinkle some additional fruity cereal over the filled tacos. This finishing touch not only makes the dessert look irresistible but also adds an extra pop of crunch and vibrant color with every bite.
How to Serve Fruity Pebbles Cheesecake Tacos Recipe
Garnishes
To make these dessert tacos even more inviting, garnish them with a sprinkle of fruity cereal, a drizzle of honey, or a few fresh berries. Each garnish adds a burst of freshness or extra sweetness, making every serving look like a mini rainbow on a plate.
Side Dishes
While these cheesecake tacos shine on their own, pairing them with a scoop of vanilla ice cream or a small glass of cold milk can elevate the experience. The creaminess of the ice cream or the refreshing milk perfectly complements the chewy, crunchy texture of the tacos.
Creative Ways to Present
For a party, arrange the cheesecake tacos on a colorful platter with edible flowers or sprinkles around them to create a whimsical display. You could also serve them in mini taco holders for easy grabbing or place them in a dessert taco shell basket for a fun, interactive presentation that will thrill guests of all ages.
Make Ahead and Storage
Storing Leftovers
Any leftover Fruity Pebbles Cheesecake Tacos should be stored in an airtight container in the refrigerator. Because of the crunchy cereal shells, it’s best to keep them chilled and enjoy within 2-3 days so they don’t lose their crisp texture or the filling doesn’t become too soft.
Freezing
Freezing is not recommended for this dessert because the cereal shells can become soggy when thawed, and the cheesecake filling may lose its delicate texture. To keep your tacos tasting fresh and crunchy, it’s best to prepare and consume them within a couple of days.
Reheating
This dessert is best served chilled, so reheating isn’t necessary. If you prefer a slightly softer filling, allow the tacos to sit at room temperature for about 10 minutes before enjoying. This slight tempering will make the filling creamier without compromising the crunchy shell.
FAQs
Can I use a different cereal instead of Fruity Pebbles?
Absolutely! While Fruity Pebbles are perfect for their color and crunch, you can substitute with other colorful cereals like Fruity Loops or even Rice Krispies. Just keep in mind that the flavor and texture will vary slightly depending on the cereal choice.
What if I don’t have taco-shaped molds?
No worries! Muffin tins work beautifully to shape your cereal shells into little bowls that still hold plenty of filling. You could also gently mold the mixture by hand over small cups or bowls lined with plastic wrap, then chill to set the shape.
Can I make the filling ahead of time?
Yes, the cheesecake filling can be made a day in advance and stored covered in the refrigerator. Just give it a gentle stir before folding in the whipped cream and assembling the tacos to ensure it’s evenly mixed and creamy.
How do I prevent the cereal shells from breaking?
Press the cereal and butter mixture as firmly as possible into the molds and allow the shells to chill thoroughly for at least 30 minutes. This cooling time helps solidify the butter, binding the pieces together and making the shells much sturdier.
Is this dessert kid-friendly?
Definitely! Kids love the sweet, colorful look and fun taco shape of this cheesecake dessert. Plus, it’s simple to make and uses familiar ingredients that children enjoy, making it a perfect treat for family gatherings or special occasions.
Final Thoughts
There’s something truly joyful about a dessert that’s as playful and vibrant as the Fruity Pebbles Cheesecake Tacos Recipe. It’s a fusion of fun textures, bright colors, and rich, creamy flavors that invites you to smile with every bite. Whether you’re treating yourself or sharing with friends and family, this recipe promises an absolutely delightful experience. So why wait? Grab that fruity cereal and start creating your own batch of these irresistible cheesecake tacos—you’re going to love every moment of it!
Print
Fruity Pebbles Cheesecake Tacos Recipe
- Prep Time: 20 minutes
- Cook Time: 0 minutes
- Total Time: 50 minutes
- Yield: 6 tacos
- Category: Dessert
- Method: No-Cook
- Cuisine: American
Description
These Delicious Fruity Pebbles Cheesecake Tacos are a fun and colorful dessert that combines crunchy fruity cereal shells with a creamy cheesecake filling. Perfect for parties and kids, these no-bake treats are easy to prepare and offer a delightful combination of textures and flavors.
Ingredients
Fruity Cereal Shells
- 3 cups fruity cereal (any brand)
- 1/2 cup unsalted butter (melted)
Cheesecake Filling
- 8 oz cream cheese (softened to room temperature)
- 1/2 cup powdered sugar (sifted)
- 1 tsp pure vanilla extract
- 1 cup whipped cream (freshly whipped)
Garnish
- Additional fruity cereal (for garnish)
Instructions
- Prepare the Cereal Mixture: In a mixing bowl, stir together 3 cups of fruity cereal and 1/2 cup melted unsalted butter until each piece is evenly coated. The mixture should feel sticky and colorful, which helps the shells hold their shape.
- Form the Taco Shells: Press the cereal and butter mixture firmly into taco-shaped molds or muffin tins. Be sure to compact it well to create sturdy shells. Once formed, chill the molds in the refrigerator for at least 30 minutes until the shells are set and firm.
- Make the Cheesecake Filling: Using a hand mixer, beat 8 oz of softened cream cheese until it becomes light and fluffy. Gradually add 1/2 cup sifted powdered sugar and 1 teaspoon pure vanilla extract, blending until the mixture is smooth and creamy.
- Fold in Whipped Cream: Gently fold 1 cup of freshly whipped cream into the cream cheese mixture using a spatula. Take care not to overmix, so the filling remains light and airy.
- Fill the Cereal Shells: After the cereal shells have firmed up in the refrigerator, generously spoon the cheesecake filling into each shell, ensuring a creamy surprise in every bite.
- Garnish and Serve: Sprinkle additional fruity cereal on top of the filled shells to add color and crunch. Serve immediately for the best texture.
Notes
- Press the cereal mixture firmly to ensure the taco shells hold their shape.
- Chilling the shells is crucial for them to set properly and become sturdy.
- Be gentle when folding whipped cream into the cream cheese to keep the filling light and fluffy.
- This dessert is best served the same day for optimal crunchiness in the shells.
- You can substitute the fruity cereal with similar colorful cereals if desired.
